Discussing marathons, triathlons, and how Dave got into these. Also discussing the joys of bulk deletion jobs with appropriate scheduling timing, and the ‘joys’ of unmanaged patches with managed solutions!
If you’d like to come appear on the show, please sign up at http://bit.ly/2NqP5PV – I’d love to have you on it!
Click here to take a look at the other videos that are available to watch.
We’ve all had these types of scenarios. You know, when you’re needing to type the same response (or similar ones) time and time and time again to customers. Or alternatively queries can be grouped together under different topics, and you just wish there was a way to quickly and easily answer these, rather than manually answering each customer.
Thankfully, there is indeed such functionality within Omnichannel! No longer do you need to type out general responses (or indeed custom responses) each and every time that a customer requests some information about something, or when helping them out.
In Omnichannel, these are called ‘Quick Responses’, and are really incredibly easy to use.
As a default, the system ships with some quick responses already loaded in, and available to use. This covers usual circumstances such as ‘Hello, how may I assist you?’, ‘Your patience is appreciated. I will be with you shortly’, and also ‘This chat service is permission based. Before a chat begins, no data is collected about you beyond the information which websites usually collect. Once an invitation is accepted, all chats are monitored for quality assurance purposes. Any information gathered is for internal use only.’
In fact, not only are these pre-loaded in English, they’re actually pre-loaded in 23 other languages as well! (at the time of writing, that is – I’m sure there will be more to come)
Now these are all very well and good for generic customer service. What makes this really cool though is that you can create your own ones, and then use them.
Setting them up is really simple and straightforward. Make sure that you’re in the Omnichannel Administration Hub, scroll down in the left side navigation bar to ‘Quick Replies’ (in the ‘Agent Experience’ section), click it, and then click the ‘New’ button on menu ribbon bar:
Give the record a title to identify it by, select a local, and then enter the message that you’re wanting to use:
Now all the agent needs to do in the chat window is use the ‘/q’ command (without the quotation characters, of course). Typing this will bring up the Quick Response window in the chat session.
The agent can then type in a keyword, and the list of available quick replies will be filtered to just those that have the keyword in it:
Note that due to the way in which Omnichannel works, it can sometimes take a little time before the new Quick Reply entries will appear for the agent to use in the chat interface
Clicking on the line that they want to use will then populate the text from that quick reply into the chat window. The agent can modify it if they want to, and then send it to the customer:
This is a really helpful feature, and can assist greatly in speedier responses to customers, as well as cutting down on the time needed for interactions!
Discussions around diving, cats (lots of cats!), and children. Bringing important thoughts to the conversation on why it’s so important to have ‘safety barriers’ in place for things in life, especially when you don’t have control of the environment
If you’d like to come appear on the show, please sign up at http://bit.ly/2NqP5PV – I’d love to have you on it!
Click here to take a look at the other videos that are available to watch.
Well, firstly this isn’t about Omnichannel. Or any specific deep dive into technology. What is IS about is the first time I’ve gone to a Microsoft conference/exhibition. And it was amazingly awesomely wonderful.
Having seen several other write-ups from people who visited it, I thought I’d write my own, to share my perspectives and thoughts on it.
The queues to get in!
Now, it’s not the first time I’ve been to exhibitions and/or conferences. Far from it – I go to several each year (in fact these are usually where I get my t-shirts and pens/pencils from – I rarely buy these at all! My wife despairs sometimes of my very ‘tech-orientated’ t-shirt collection). I’ve frequented Service Desk (https://www.servicedeskshow.com/) for over a decade, as well as InfoSec (https://www.infosecurityeurope.com/), Counter Terror (https://www.ctexpo.co.uk/) and DsEI (https://www.dsei.co.uk/) as well.
I’ve even been to CES (https://www.ces.tech/) in Las Vegas a few years back. Now if there’s ever a place where consumer technology is showcased, that is truly the place for it. I even managed to get myself upgraded to a Press Pass there, which came with a cool backpack, early access to the exhibition floor, and free WiFi.
Ignite was different. True, it included people speaking about Microsoft technology (and these were really and truly awesome people, some of whom I know personally), showcasing and demoing it.
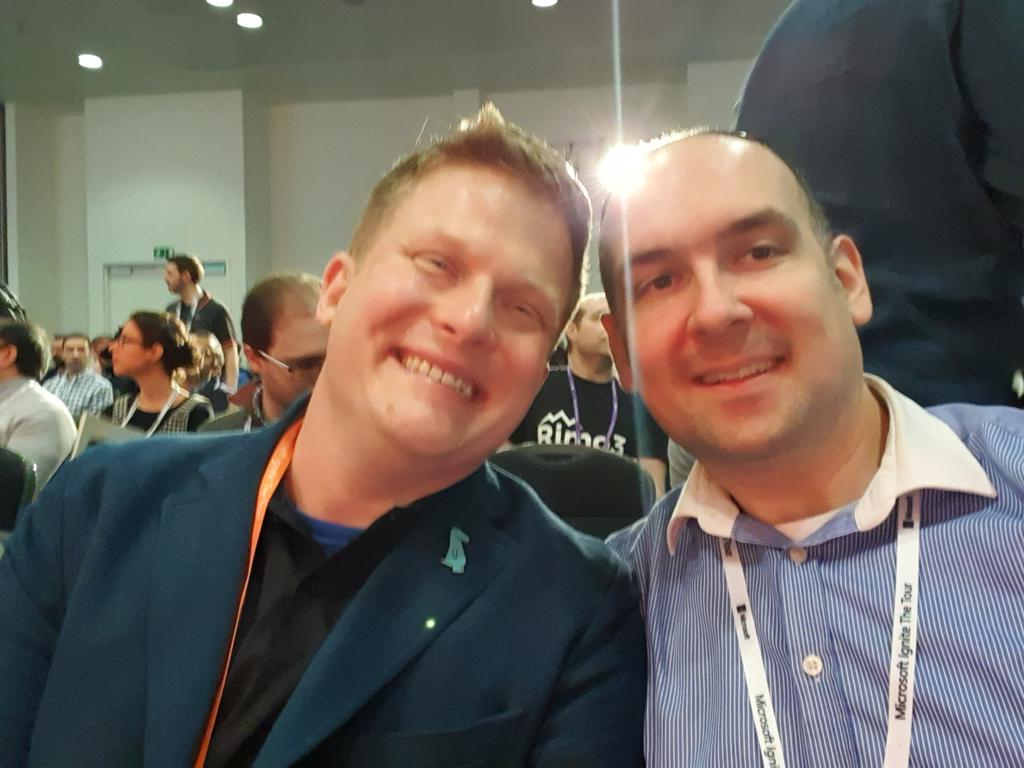
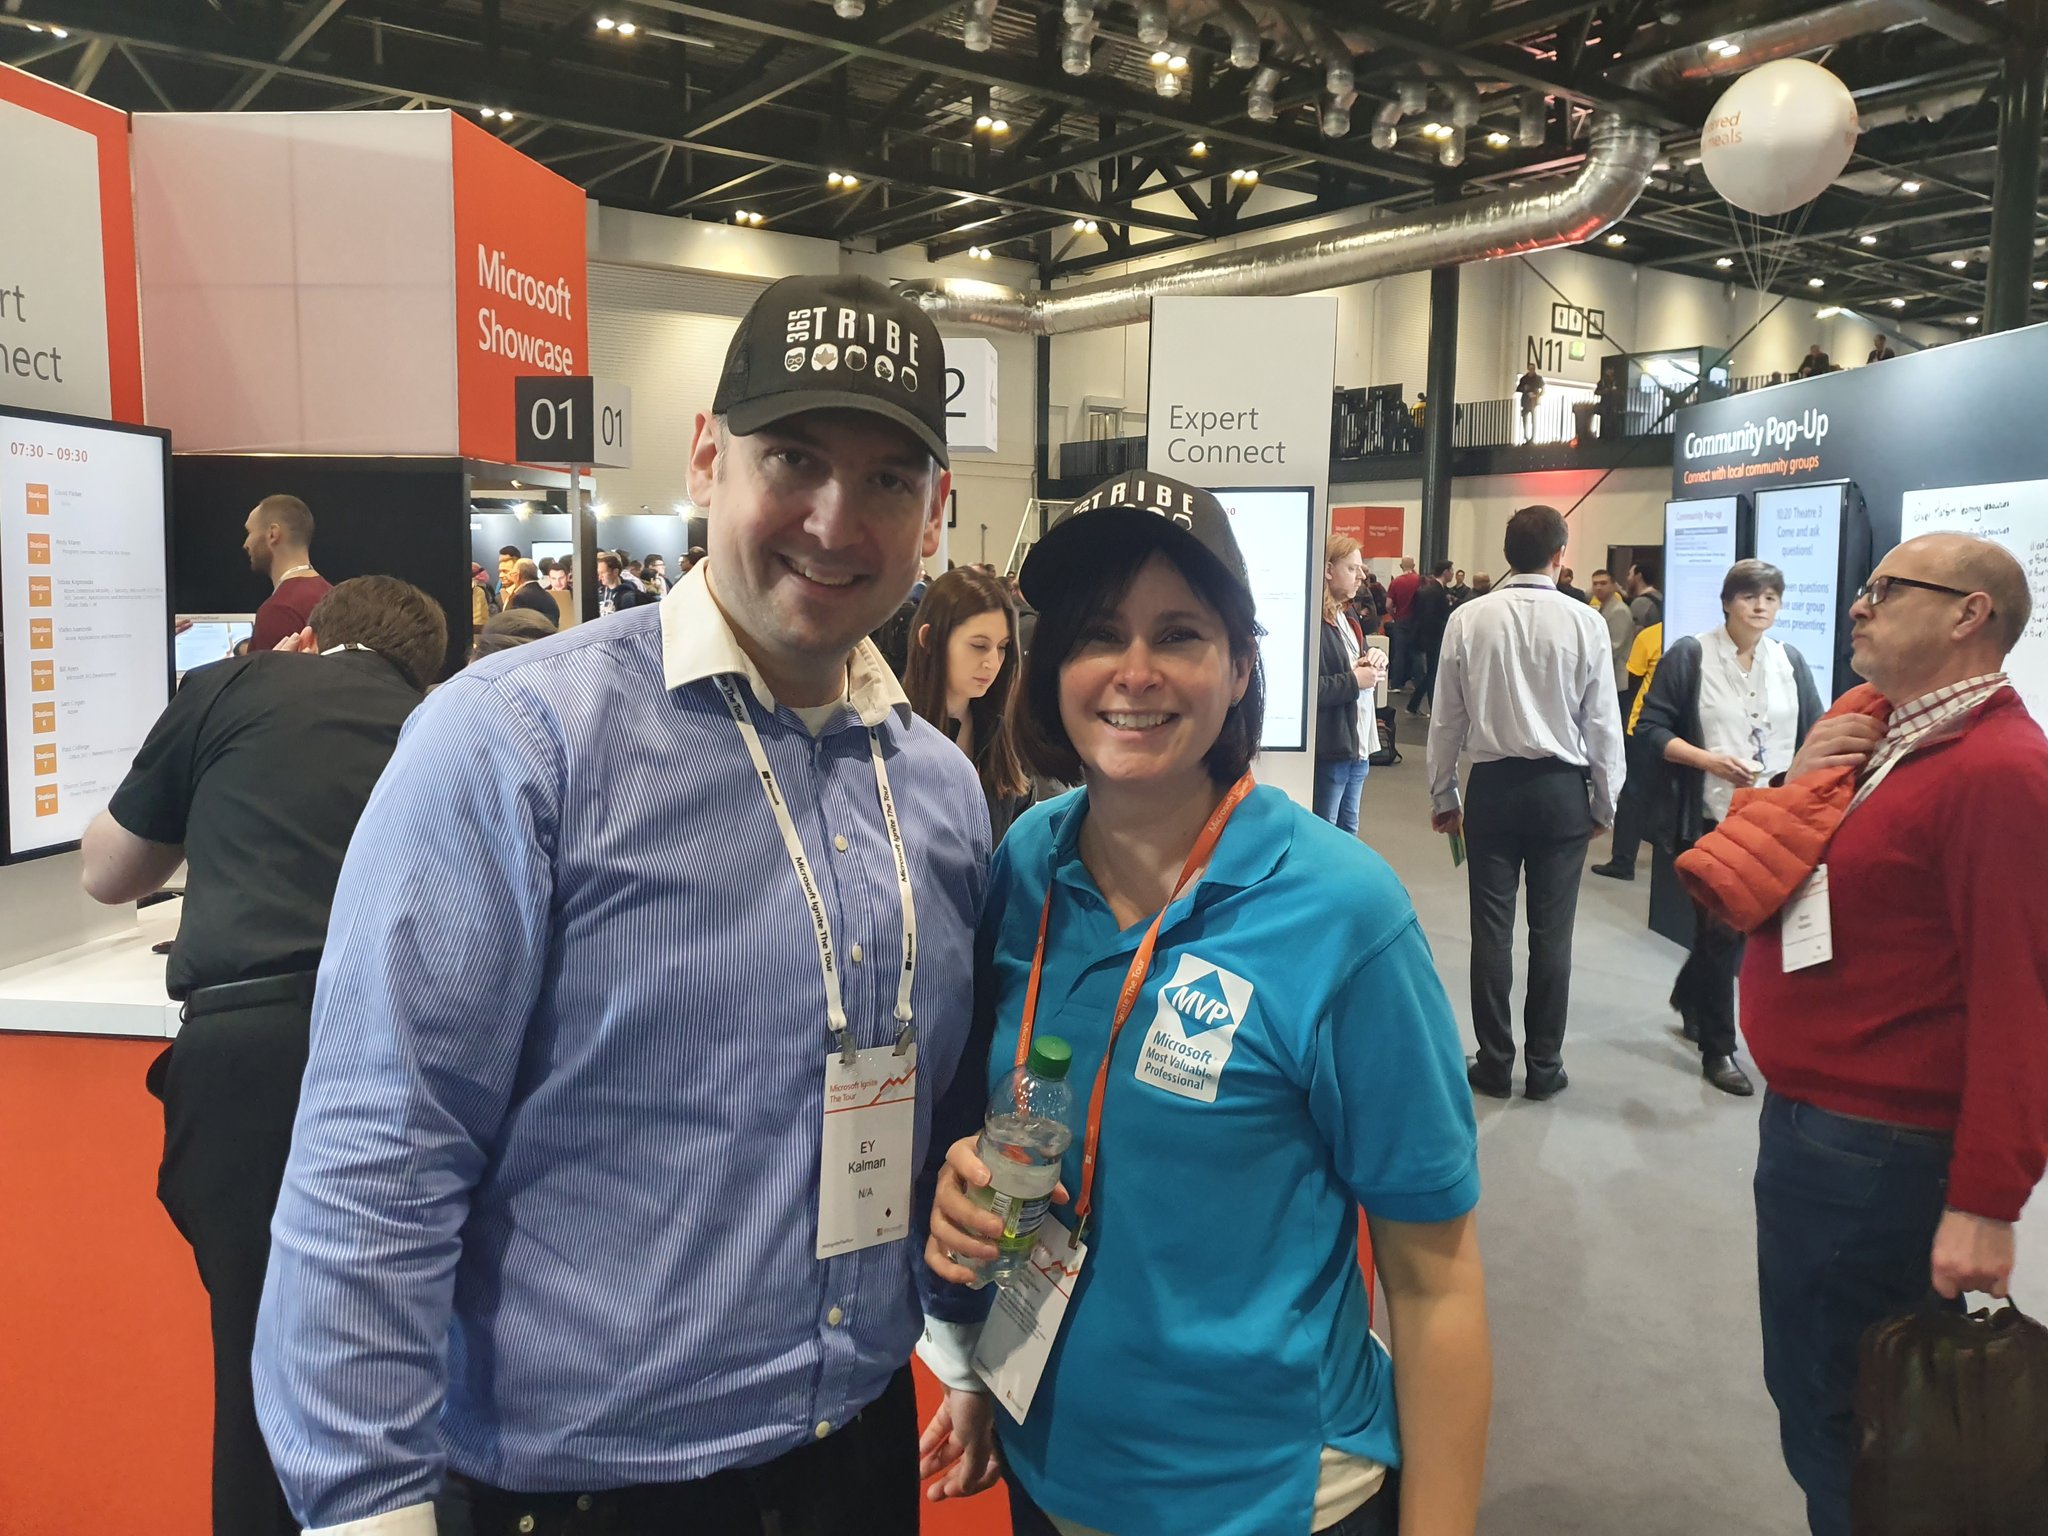
The famous Keith ‘I’m a Ginger’ Whatling
But what it also included, and had a deep emphasis on was Community. There were many different User Groups present, talking about how we can all enable and support each other. There were mini-sessions by speakers, un-conferences, Q&A sessions, etc. Many people from all over the UK, as well as abroad, took part in this. It really emphasised for me just how important our technical communities are, and how much we can learn from each other from them!
Of course, I attended many of the sessions that were happening. I tried to mix these up, aiming to attend both professional learning as well as personal development learning. My schedule was as follows:
Day 1:
Enabling everyone to digitize apps and processes with Power Apps and the Power Platform
Intelligent automation with Microsoft Power Automate
#HumansofIT with Tech Superpowers: How Heathrow’s Security Officer Launched 12 #PowerApps
Connecting Power Apps, Microsoft Power Automate, Power BI, and the Common Data Service with data
Practicing Kindness in Tech: 5 Steps to Build a Culture of Giving Back and Helping Others in the Community
Supervisor experiences in Omnichannel
Day 2:
PowerPlatform London User Group sessions
Humans of IT Empower Breakfast Panel – Interconnected Data for an Interconnected Planet: The Future of Agritech
Imposter Syndrom Banishing Spell
Azure AI & Dynamics 365 Virtual Agent for Property and Real Estate Market use case: Delivering significant cost reduction and tangible revenue growth
The Power People of London Town: Power Apps and Power Automate
Configuring and managing Dynamics 365 Sales and Dynamics 365 Marketing – Establish connected Sales and Marketing
Responding to incidents
From Geek to Chic: Build Your Brand & Elevate Your Career in 5 Steps
There were fabulous speakers – really too many to mention (especially as I also managed to network with various others). From FINALLY meeting Samit Saini (it’s only taken 6 months) in person to hearing Dona Sarkar and Dux Raymond, from Rory Neary to Mark Wilcock, it truly was a pleasure to listen to what they had to say.
Dona, Samit & Duc
The networking opportunities available were also unbelievable. With an estimated 5000 people attending, I met up with others who I had only corresponded with digitally to date. Even more wonderful was meeting new people, sharing ideas and concepts, and already keeping in touch and corresponding with in the short time since Ignite finished here.
The sense of community involvement was indescribable. People were sharing resources, suggesting who to follow online, and who to reach out to if they had any questions about anything.
Don’t worry – someone added me to this later on!
It was also truly great to see the launch of the #PowerPlatypus. I’m going to unashamedly take full credit for this marvellous creature coming to fruition (well, until anyone official from Microsoft can prove otherwise), due to the Twitter poll that I put out last year:
I’ve come away with so much learned in such a short space of time, and many notes on much more that I need to look into. Best of all, I’ve come away with many further connections, and I’m really looking forward to seeing what we can all come up with.
One really useful thing to note as well about Ignite – everyone who attended gets a free Microsoft Exam voucher that they can use to take any exam with!. To redeem this, find the exam you’d like to take, log in to schedule it, and then you should be given an option to use it:
This is so wonderful, and I really do appreciate Microsoft providing this (especially as Ignite the Tour is free to attend!).
I’ve already made a note to attend the tour next year (as I won’t be able to attend the main Ignite conference), and are looking forward to seeing what it brings, and who I’ll be able to meet there. Perhaps even, I might apply to speak at a session!
Talking about our shared love of motorbiking, touring around Europe (with ad-hoc repairs) & the importance of getting key people (knowledge holders) together with ‘sweating the details’ for projects!
If you’d like to come appear on the show, please sign up at http://bit.ly/2NqP5PV – I’d love to have you on it!
Click here to take a look at the other videos that are available to watch.
One of my resolutions for 2020 is to go out and get books to read, for self improvement – all in the name of getting better at stuff!
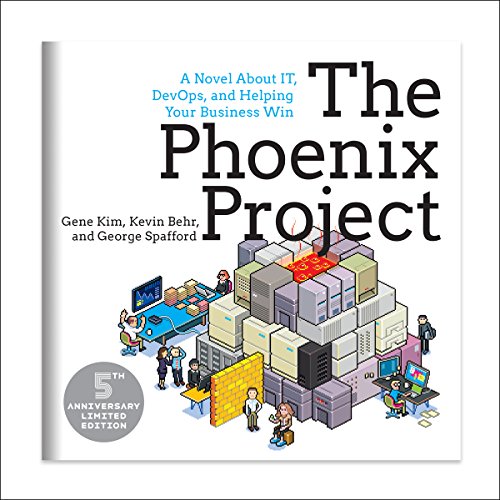
One of the books that I’ve read is The Phoenix Project (billed as a novel about IT, DevOps, and Helping Your Business Win). It’s been a real eye opener as to how we may currently go about projects, and what would be a much better approach. The thinking behind it is to look at how to best use DevOps.
Incidentally Tricia Sinclair has recently started talking about DevOps, and is REALLY knowledgeable on the subject. I’ve had many conversations with her, and her breadth of information and understanding is second to none. I’d really recommend that you go check out her blog at https://triciasinclair.com/.
There are several ideas/concepts that I’ve taken out of it. One of the main ones (as far as I’m concerned) is about continual improvement, and doing this in small steps.
It’s not about massive changes in life. It’s about identifying something (small) that can be changed/modified, and implementing a new regime around it, or a new way of doing it. This way you can train yourself into a new habit, which will take you forward. Once it’s settled in, pick something else, and then work on that.
The effect will be gradual, but it’ll be noticeable in being better at whatever it is that you’re addressing. It doesn’t just stop there though – improvement in ONE area has shown a noticeable marked improvement in OTHER areas as well across the board.
This concept doesn’t just apply to personal habits – it also applies to technology. Gone are the days (for most people!) when the next updates and/or items were released just in new product versions, or major updates.
Yes it’s true that there are two major releases each year for Dynamics and PowerPlatform (Spring/Fall), but the Microsoft Development Teams don’t work on items and then queue them all up for the major release.
Instead there are items that are released as soon as they’re ready (take a look at https://thecrm.ninja/required-fields-on-forms-what-did-you-forget-to-fill-in/ for an example of this). This is why you’ll be using the system, and suddenly notice that you don’t have as many steps to carry out, or something looks better and works faster, etc.
Every member of the team should feel that their input is valued, and able to be used – this will reinforce the team status. In the Toyota Way (see https://en.wikipedia.org/wiki/The_Toyota_Way for more information) quality takes precedence. Anyone at all, even a ‘lowly’ factor worker, is empowered to stop a production line when they’ve identified a problem.
One of the items in the ‘Toyota Way’ is called the ‘Toyota Kata’. This is a skill-building process to shift our mindset and habits from a natural tendency to jump to conclusions, to a tendency to think and work more scientifically. It’s not difficult to pick up, and recommendations are to practise it for only 10 minutes a day!
Everyone knows that making small improvements everyday is good and everyone wants to do that. But the following questions arise:
What to improve?
How to improve?
How will I know am improving?
The Toyota Kata comprises of 4 steps:
Plan. Draw up a list of things to do over the next period of time (one or two weeks). Establish objectives and processes required to deliver the desired results.
Do. Carry out the planned items. Small changes are usually tested, and data is gathered to see how effective the change is.
Check. The data and results gathered from the Do phase are evaluated. Data is compared to the expected outcomes to see any similarities and differences. The testing process is also evaluated to see if there were any changes from the original test created during the planning phase.
Act. This is where a process is improved upon. Records from the “Do” and “Check” phases help identify issues with the process. These issues may include problems, opportunities for improvement, inefficiencies and other issues that result in outcomes that are not optimal. The root causes of such issues are investigated, found and eliminated by modifying the process (as part of Plan in the next cycle).
Work in the next cycle Do phase should not create recurrence of the identified issues – if it does, then the previous action was not effective.
The most obvious manifestation of the Toyota Kata is the two-week improvement cycle at Toyota itself, in which every work centre supervisor must improve something (anything!) every two weeks. Mike Rother (who wrote the book for Toyota Kata) says ‘The practice of kata is the act of practising a pattern so it becomes second nature. In its day to day management, Toyota teaches a way of working—a kata—that has helped make it so successful over the last six decades.”
My resolve is to do this – not only on my personal items, not only in my work environment, but also with the clients that I work with.
Let’s go out there and use this to make things better for everyone. Let’s challenge our clients and see how this can enable and empower them? Sounds crazy, right – but it could actually bring a massive benefit to project/s. Sit down with the business team/s, and get them to identify one point (that’s not too big) that can be (quickly) worked on (try using the 80/20 rule). Do the work on it, release it, and then get them to do it again. See the results and benefit from it!
Note: Don’t get them to build too much of a backlog around this, as release items may cause one or more of the backlog items to be non-relevant anymore!
You could even get managers to give a reward for coming up with ideas around this concept that have a major noticeable effect on productivity etc.
By bringing these concepts together, our clients (along with ourselves) can better understand what’s happening, bring better suggestions to the table in order to build better systems, and a much higher working co-efficient will evolve, empowering everyone!
We’ve all been there (well, at least I have). We’ve been having an online chat with a customer service person at a company, and we’re wanting to have a record of the actual chat that took place. Of course we could (hopefully) copy and paste the entire conversation into a document and save it, but that would be laborious, and also potentially not be legal proof of the actual conversation.
In some cases, companies may actually encourage customers to save a record of their chat history on their account (as an example, Amazon offers this at the end of each chat). Customers can then return at a later date to download the conversation to their own computer at their leisure, which can be more convenient at times (say you’re travelling on holiday, and don’t have your own computer with you!). It could even be possible to get it automatically emailed to your own email address, which would also allow a company to add additional information to it (for example a feedback survey request on your chat experience, some marketing information, etc)
Well, Omnichannel has the ability for this, in multiple ways! It can allow a user to:
Download a full transcript at the end of the chat
Email a full copy of the chat transcript
Both of these features are available from the chat window using icons, allowing a quick and easy experience for the users. You can decide if you want to allow one or the other, or both, quite easily.
Enabling this is quite simple, though there are some additional options to set for the auto-emailing feature (basically selecting the email template and user mailbox – you can set up a specific mailbox to use if you’re wanting it eg ‘customerservice@abc.xyz’).
In the Omnichannel Administration Hub, open the Chat channel that you’re wanting to enable this for. Under the ‘Chat Transcripts’ section, select the option/s that you’re wanting to enable:
Downloading the chat transcript
At any time during the chat conversation, users can click the download icon at the bottom left of the chat window, and the conversation will be downloaded to their default Downloads folder on their computer.
This saves as an HTML file, and when opened looks like this:
At the end of the chat, the person will be prompted and asked if they’d like to save the conversation, with quick instructions as to how to do so. Obviously this option will ensure that the customer has the complete conversation, rather than just a part of it, so this reminder is really nice and helpful in my opinion
Emailing the chat transcript
Customers can also get the chat transcript auto-emailed to their email address. Clicking the email icon will prompt the customer to enter their own email address (or whichever email they’d like the chat transcript to be sent to).
This option allows companies to be able to format the email template that’s used for this. Examples of things that a company might want to do could include:
Using company logo’s, images and fonts
Feedback survey information, to understand how the customer felt about the chat session
Marketing material for upcoming events
Note: When setting up the ability for chat transcripts to be emailed, don’t forget to approve and test the mailbox being used in the Email Configuration settings! If you don’t do this (or it hasn’t already been done), they won’t be emailed out!
There’s also one further piece of configuration that needs to be carried out for emailing chat transcripts. As all emails from that chat channel will be using the same email address to send out the emails, this means that the ‘Allow send on behalf of’ option must be selected on the mailbox user’s personal settings. You’ll therefore need to log into Dynamics as the mailbox user, open personal options, and set this manually
In summary, this is really helpful to customers, and a great little feature for Omnichannel.
I’ve been contacted by several people over the last few days who have been experiencing an error when trying to get Omnichannel configured. It looks something like:
The actual text of the error is: AADSTS65001: The user or administrator has not consented to use the application with ID ’18cc9627-776c-4142-b8f5-9cd83517e3bb’ named ‘Omnichannel for Customer Service’. Send an interactive authorization request for this user and resource. Trace ID: 36dd2358-2d41-463c-a2f6-013038636400 Correlation ID: 9ac093cd-e525-4bb4-b277-3ac8e7478b6b Timestamp: 2020-01-07 12:14:15Z
No matter what people tried, they still got it. I went through the process of setting up a completely new environment – lo and behold, I got the same issue! (the screenshot above is actually from my system). Incidentally this is why it’s so important to be able to replicate an issue, so that you can confirm what’s actually causing it to happen.
Reaching out to some very helpful people at Microsoft, I (thankfully) got a quick response from them
Essentially, there are some issues with Azure Active Directory (AAD) consent flows for applications at the moment (it’s not specific to Omnichannel). There’s a fix that’s being worked on, but no idea when it will be finished and rolled out.
They were nice enough to share with me how to address it, which is what I’m now sharing here! To fix this issue, carry out the following steps to manually grant permissions to the application:
Click it to open, and you’ll see a list of the enterprise applications that use AAD.
2. You’ll then want to search for the application that has the issue (in this case, Omnichannel)
You’ll want to double-check that the ‘Application ID’ is the SAME as the Application ID that you’re getting in the error message, especially if there are multiple results coming up in the search list!
Once you’re sure that it’s the correct application, click it to open it.
3. You’ll see a section in the left bar called ‘Security’, and under this should be an entry for ‘Permissions’. When this opens, you’ll see a button in the main window called ‘Grant admin consent for User‘.
4. Click this – it’ll cause a window to pop up, where you’ll grant permissions for the application. Once granted, the window will automatically close.
You can then go back to the place where you were experiencing the error, and it should work!
Talking about how running can help with things, interesting sights seen during some of the runs, managing expectations for system migrations with new fields, and the importance of involving the key business unit users as early as possible during the project process!
If you’d like to come appear on the show, please sign up at http://bit.ly/2NqP5PV – I’d love to have you on it!
Click here to take a look at the other videos that are available to watch.