Canvas Apps & renaming field labels

Today I want to share with you something that I’ve realised. Changing field labels can have unintended consequences!

Let’s cast our minds back to the days of ‘traditional’ Microsoft CRM, or as it’s so lovingly referred to nowadays, ‘model-driven’ apps. What you had were a number of entities (eg Accounts, Contacts, etc), all of which contained fields. Fields could be different types (text, integer, boolean etc), and have varying properties on them. You could set them to be required (or not), searchable (or not), and have so much fun.

At the heart of a field is the name that it has. Well, technically there are two names. One is the actual database name. Once a field was created & saved, this was effectively written in stone. The only way to handle a situation where you spelled this incorrectly was to delete it, and then recreate it. Even then, it could still be floating around in the back-end database in its original form.

The second name is the Display name (or Display label). This was the text used on the entity form itself, & could be changed as desired. This was actually really useful – many a time a business unit would say something like ‘we don’t want the field to show as Zip/Postal Code’; we want it to say ‘Postcode’. Well, that was easy enough to address – simply go ahead, load up customisations, & change the display name property for the field. Everyone was impressed & happy, and could get on with their work.

There were of course times that Business Unit A would say ‘I want ‘ABC’ as the display name’, and then Business Unit B would say ‘Ah, but I want ‘XYZ’ as the display name!’. To handle this, it was very possible to customise the label on the form itself, which would then override the display name value. This, of course, would only be valid for that specific form, so it was then imperative to have different forms for the different business units.

Now, in the good old days we use to create SQL queries against the database, SSRS reports, etc. In order to do this, we needed to know the actual underlying (database) field name. We could of course open up customisations, & start trawling through, but there are better methods for doing this. One of these is Level Up by Natraj Yegnaraman. This can be found at https://github.com/rajyraman/Levelup-for-Dynamics-CRM, and is an extension which can be run on Chrome, Edge on Chromium, & FireFox).

Using this amazing tool, it was possible to merely load an entity form up in an existing system, and then TADA! At the click of a button (well, two clicks actually), the underlying database name was revealed. This was an absolute lifesaver, so many times.

So there we’ve been, toddling along for many years like this. It worked, and worked well. All was good.

Then came along canvas apps. Now I’m not a canvas app guru by any means – I’m quite new to them, and still trying to wrap my head around the ‘special’ way in which they operate. Thankfully there are quite a few gurus in the community who have given me help in one way or another to learn how to carry out various functions, and I think that I may JUST be starting to get the hang of it.

With the current COVID-19 situation, I’ve been working on a series of apps for work, to help local authorities. One of these is a canvas app for call centres, to record information easily & quickly. We chose to go down the canvas route due to being able to have a clean layout, as well as being able to display information for the operators to read. This would have been much more difficult in a traditional model-driven app, especially as such things as dialogues have been deprecated.

One of the functions that I’ve had to learn to do this has been to use the ‘Patch’ function (see https://docs.microsoft.com/en-us/powerapps/maker/canvas-apps/functions/function-patch for more information on this. The following is an example of one of the Patch statements that I was using:

This was working remarkably well – it was creating the task record, and setting all of the different values that I needed. For those who are curious as to why I was using a Patch statement, rather than submitting the form, it was due to needing to set the ‘Regarding’ field, which has some very special behaviour!

Then someone on the team said ‘Hold on – we’re only storing one address. Let’s change the field display names to remove the ‘Address 1′ part, so that we don’t confuse users’. OK – I didn’t INITIALLY see any issue with this. I bet that you can see what’s coming through…

Yes – you’re right. The patch statement isn’t referring to the field database name. It’s referring to the field display name! The reason for this is that this is the syntax that Canvas Apps use – there doesn’t seem to be a way to refer to the actual underlying field database name

Of course, I only actually discovered this when I ran through the canvas app again. And indeed, it was whilst demonstrating it to other people! Oh joys – what a wonderful time for it to happen.

So, I then had to figure out what had happened – thankfully that didn’t take too much time. What DID take time was going through every single place in the canvas app that had code referring to the specific fields, and update them to the new (correct) values. This therefore ended up looking like:

So, the vitally important lesson to learn here is be VERY careful when changing field display names, especially if you have one (or more) canvas apps that are referencing them. The last thing that you want is a major headache in having to go back through every place that refers to them, and changing/updating the values.

The only workaround that I’d suggest, is that if you’re wanting to change how fields display in the canvas app itself, change the ‘Text’ value for the field:

That way, HOPEFULLY, nothing will break moving forward.

I hope that you’ve found this useful. If you have a different way in which you’ve handled this situation, feel free to leave a comment below!

Farewell to the Outlook Add-In

From the first time that I used Microsoft Dynamics CRM (all the way back in the day), I remember the Outlook add-in. Or rather, I should say that I remember the PAIN that the Outlook add-in was!

You remember what I’m talking about, I hope. Here’s a screenshot of the ‘fabled’ toolbar:

The installation of this was a nightmare, to be honest. From the pre-requisites that it needed to install (and download – even if the machine already had them installed), to just hanging there, it wasn’t ever something that I looked forward to putting on machines.

It was a memory hog, slowed performance, and occasionally crashed Outlook, seemingly just because it felt like it! In addition, trying to carry out a mass roll-out of it (through SCCM, or Group Policy, or even other methods) never seemed to work properly at all.

In one of my roles we had to install this for dozens of users. Randomly, even on brand new machines (with nothing else installed), it would fail to install or initialise. Long hours were spent poring through logs, trying to work out error messages, and frantically get it working. Users were VERY used to seeing the following error happen:

In short, it’s been around for a VERY long time, as the following diagram shows (I’m loving how they compress 12 years into just a short space):

In late 2017, Microsoft announced that they were going to deprecate the Outlook add-in. There were several other options around, such as proper server-side sync, and the Dynamics 365 app for users. These were supposed to be being used instead.

The response from clients was crazy – so crazy in fact, that Microsoft did something that it very rarely does. They reversed the decision to deprecate it, and instead confirmed that it would still be sticking around. They realised that the other options weren’t at parity with the Outlook add-in for desktop, and didn’t want to deprive users of the essential functionality that they were needing.

In 2018, I was at Summit EMEA in Dublin. One of the more interesting conversations that I had with one of the senior Microsoft people was around the Outlook add-in. They told me that from the moment that Microsoft had announced that it was deprecated, every client had asked them about it. Even to non-technical people (eg sales, etc). It was due to this, in part, that they decided to un-deprecate it!

Moving on several years, the landscape has now matured. A lot of users are using Outlook through browsers, rather than the desktop version. They natively plug-into Dynamics 365 through the web as well. The Dynamics 365 App for Outlook has gotten better, along with the way that it works:

Users, on the whole, seem to have generally adopted the latest technology, and have therefore moved on from relying on the Outlook add-in for desktop. There’s also the new Unified Interface, which the Outlook add-in doesn’t support (and which will be being rolled out to all users on Dynamics 365 during 2020!).

Microsoft has therefore announced that as of March 2020 (which has just passed), the Outlook add-in has now been deprecated (once again). Support, security & other critical updates will be continue to be provided until October 1st 202, but customers will need to transition to the Dynamics 365 App for Outlook by then.

Very nicely, they’ve provided a playbook (which can be found at https://aka.ms/OutlookCOMPlaybook). This details the upgrade path, and has some good information in it for customers who will need to upgrade from it.

So if you’re still on the old version, take a look now, and work out the best way for you & your organisation to upgrade. It’ll give you newer & better functionality, work easier, and above all, shouldn’t crash your machine!

Let me know in the comments if you have any questions around this, and I’ll do my best to help you out.

Handling Company Hours

Companies want to be able to support their customers, and provide a valuable customer experience. That’s a given, of course! On the other hand (especially if the company isn’t a multi-national), they’ll have hours of operation that they’re open for. When the company isn’t open, they’ll want to ensure that customers will know this, and not be routed to customer support when it’s not available.

There are several different ways of handling this, depending on how exactly the system/s have been implemented. Let’s take a look at some of these

Omnichannel Native Web Chat

One of the channels available through Omnichannel is the webchat. I’ve covered some of the ways that this can be done at https://thecrm.ninja/proactive-chat-in-omnichannel-for-dynamics-365/.

When setting up a chat channel directly from within Omnichannel, we can leverage the inbuilt settings for Operating Hours:

By using this, we’re able to set up different day & time combinations, along with the timezone that’s it’s applicable for (I’d suggest to use appropriate names and/or descriptions to easily identify them, of course!):

It’s not even a blanket setting (ie that you set up one record for this, that governs all communication channels). You’re able to set up multiple Operating Hour records, and can then point each chat instance to a specific one. To do this, go to (or create) the Chat record, open the Design tab within the record, and select the Operating Hour record you’re wanting to associate to the chat:

Now, when this has been applied, the chat widget button will only be displayed on the webpage/s where it’s deployed to during the specified Operating Hours. Great!

Power Virtual Agent

There will be scenarios where you’ll be implementing a Power Virtual Agent in the first instance, rather than using the Omnichannel chat itself. Reasons for this include the ability to have automated responses to issues, allow users to self-service their enquires, and other.

Having taken a look, the configuration for escalating a PVA conversation into an Omnichannel queue is actually quite simple and basic. Unfortunately, there doesn’t (at the time of writing) seem to be any way of picking up the Omnichannel Operating Hours that are set up within the system, nor any method to specify these in any other way for the PVA itself. Hopefully this will change at some point!

Azure Chat Bot

I’ve also taken a look at Azure Chatbots, as these are another way in which companies will enable customers. Once again, there’s no way to have an Azure Chatbot respect/pick-up Omnichannel Operating Hours. I would hope that this will be functionality that comes in the future.

However (unlike Power Virtual Agents), it should be possible to write code within the chatbot (using the Microsoft Bot Framework) to indeed take these into account.

Other channels

There are of course other channels such as Facebook, SMS, and the Wave 1 2020 items (Twitter etc). With all of these, there are likely to be different methods in getting the Operating Hours set up, along with things like auto-responses (eg ‘The office is now closed, please contact us again between 09:00 & 17:30 Monday through Friday to speak with an agent’) to give the best experience.

Omnichannel & Sentiment Analysis

In general, it’s usually quite useful to be able to see how customers are engaging with your company, and how they’re feeling about things. If customers are disgruntled, annoyed, or complaining, it’s important to be able to understand the root cause/s of their issue/s, and resolve them as soon as possible.

One of the tools available in Omnichannel is Sentiment Analysis. What is this?

Being able to identify how customers see/interact with your brand, accurately, is vitally important. Using people to manually trawl through your data to attempt to identify this has many drawbacks:

  • Lack of consistent approach
  • Large amounts of time needed
  • Many manual touchpoints

As a natural follow-on from this, being able to identify & categorise the sentiment in customer communications through using machine learning can unlock many business use cases that can then result in immense value for your company.

Microsoft provide the ability for this through Azure Cognitive Services. It’s really quite interesting in how this actually works. You can go to https://azure.microsoft.com/en-gb/services/cognitive-services/text-analytics/, put in a sentence, and see what results come back. It can be quite amusing to see what different colours come out as!

As part of the analytics around chat (and by chat, I’m not referring to just a chat bot – anything within Omnichannel can be referred to as ‘chat’, from an agent perspective), sentiment analysis can be used.

This is quite easy to set up. To do so, open the Omnichannel Administration Hub, go to the Settings area in the left-hand menu, open ‘Sentiment Analysis’, and click to enable it. Remember to save it to apply it!

This will then result in the agent interface showing the following:

Now, this isn’t static. The sentiment will update in real time as the conversation continues, and will change based on what the customer is saying.

Now, obviously we’d expect agents to be able to judge the tone of the conversation based on what’s being said (at least I’d personally expect it). So for this, the sentiment that shows within the chat isn’t that helpful.

However, it does come into its own in a slightly different place. This is the Omnichannel Sentiments Analysis Dashboard, which is served through PowerBI.

Through this, supervisors can understand how their company is measuring up to their KPIs & necessary trends. They can also understand the overall support experience that omnichannel is having, along with tracking the sentiment of customer interactions. As a result of having this to hand, better understanding of customers can take place, resulting in improvement of the overall customer experience.

Once the dashboards have been configured within PowerBI (I’m going to do a separate post on this), it’s then possible to surface these within the Omnichannel Customer Service Hub (which users with the Supervisor role will be able to see). This means that supervisors won’t need to open a separate place to see these; it’s all available through the same interface.

There’s also a more detailed view into what’s actually happening, through the ‘Omnichannel Insights – Sentiment Analysis Report’. This displays a lot more information, drilling down & splitting the data up into agents, queues, channels & trends. Here’s an example of this:

With all of this information as the fingertips, it’s now really possible to drill down into the details. Through this, we’re able to carry out full & proper analysis on what’s actually causing customer interactions. From looking into what’s occurring, it’s then possible to review the current state of things, and see what can be improved. This will then result in more positive sentiments shown by customers, and drive their loyalty to the company!

MB-600 Solution Architect Exam

I haven’t really touched very much on any exams that I’ve taken so far during the lifetime of this blog. I’ve mentioned them a few times (ie how important they can be), but haven’t really gone into detail.

However, having seen various comments online recently around the MB-600 exam, I thought I’d do a post on it with my thoughts and comments!

So, what is the MB-600 exam? Well, it’s sort of the ‘Holy Grail’ for Dynamics 365/Power Platform. This is due to the actual full name for it – ‘Exam MB-600: Microsoft Power Apps + Dynamics 365 Solution Architect’. Indeed – assuming you pass it (and you’ve already passed the MB200, and either the MB210. MB220, MB230, MB240), you can officially refer to yourself as being a Microsoft certified ‘Solution Architect Expert’.

Impressive!

The exam was being talked about at the beginning of 2020, and went live (in beta) on Jan 27th 2020. If you’re wanting to book it, do so at https://docs.microsoft.com/en-us/learn/certifications/exams/mb-600.

I sat it several days after it went live, and to be honest found it quite challenging. Why was that? Well, when I sat it, there were no learning paths on Microsoft Learn for it at all. Thankfully that’s now changed – there’s a massive amount of great material at https://docs.microsoft.com/en-us/learn/certifications/power-apps-and-d365-solution-architect-expert. If you’re looking to go ahead and do the exam, I’d highly recommend you go through everything that’s there.

I’ve taken quite a few exams since early 2019, and have now taken the general approach to take exams in Beta. Although there can be some waiting until the results are announced, they’re cheaper, and give you an understanding of what’s going on.

I sat the exam through the Proctored option. I’m not going to say too much about that (you can look up online what this is about), other than to say that I feel that Microsoft really should be doing something about the proctored experience. Pearson Vue is in charge of this, but it can be really bad at times (having taken a dozen or so exams this way in the last year, I feel I’m quite qualified to be able to judge this!). I hope that things do get better for this.

So, to the exam itself. Well, I was lucky – there were no Labs in it (yet!). Several case studies, and lots of questions. Quite hard questions as well – make no mistake, they’re out to seriously test your knowledge.

The first thing that I ‘loved’ when starting the exam was the general briefing, which included something along the lines of this absolute gem (this isn’t word for word, as I’m not allowed to write it down during the exam, but it gives the gist of it):

Some question sets may have more than one solution, while others might not have a correct solution at all

Right. So tell me – if there’s no correct solution, what am I supposed to do? I’m still waiting for someone to enlighten me on this matter, as I haven’t found anyone who’s able to explain it….

Now, part of the exam rules state that it’s not allowed to share any of the exam questions. What I’ve therefore included below is an overview of the sorts of things that were covered for my exam (Note: exams are composed from question banks, so there could be many things that weren’t included in my exam, but could be included for someone else!).

  • Data imports – what they are, how to go about them, troubleshooting them, etc. Also covering different types of sources
  • Security models, permissions, security types (field level, role, user, team etc)
  • Teams integration. How it’s set up, configured & used
  • Solution patch types. What they are, how they’re applied, how they’re used, benefits & drawbacks
  • BCP (Business Continuity Planning and Disaster Recovery) processes. What option/s should you be considering to ensure your business is fully covered in a disaster situation, how are they configured
  • Portals. What they are, how they’re set up, security permissions
  • Business rules, Business Process Flows, Workflows. What each one does/doesn’t do, benefits & drawbacks, how they’re set up & configured
  • Systems – On Premise vs Cloud. The advantages and/or drawbacks of each type, and the different BCP methods (see above) for each one
  • Data integration. OData vs Custom Service for continuous data
  • SLA’s and KPI’s. What they are, when each is used, how to set up & configure them
  • System upgrade paths and compatibility. How you go about upgrading legacy systems, and the necessary path/s that you have to take for a given version number
  • Customer Service through multiple channels. Which option/s would you select for a given scenario, how would you set it up/configure it
  • CDM/CDM/PowerBI/Azure Service Bus/PowerApps. What is each one, what are the benefits/drawbacks of them, how is each one used, & set up/configuration
  • Licensing Types. What license/s would you need for a given scenario
  • D365 Sales Insights. What it is, what benefit/s it brings, how is it used
  • Data security. How is security used for Dynamics 365 & PowerBI data, how is it set up/configured
  • Field properties. For a given scenario, how would you change field properties and/or parameters?
  • Data Migration. Different options available for this, benefits/drawbacks, resolving issues
  • Form security. What is it, what are the different types of security that’s able to be used, how is it set up
  • Solution management. What are the different types of solutions, how is each one used, what are the associated risks, which option would you use for a given scenario

Wow. That’s a LOT of stuff. Like…an incredible amount. Some of it touches on parts of the system that I’ve never used before (like PowerBI). Other parts are extremely familiar.

I can’t tell you if I’ve passed it or not…YET!. Results aren’t yet out, as it’s still in beta (and from what I’m hearing, it’s likely to be remaining in beta for several months still.

So, if you’re aiming to take it – I wish you the very best of luck, and let me know your experience!

Omnichannel & Agent Scripts

Earlier this week I started to share information around the Productivity Tools that Microsoft provides (as a separate solution, admittedly) for Omnichannel – https://thecrm.ninja/omnichannel-productivity-tools/. With it, I also covered Macros, and some of the benefits that using macros can bring to a company

Now, we all know that the absolute key point in ensuring a consistent & holistic approach is to have a method for getting something done. A ‘script’, in other words. With this, we can set out the steps that we want to be carried out, in the order that they should be performed, with appropriate information against each item. This results in agents (hopefully!) following this, giving the customer the same (and great) experience each and every time they need to interact.

Scripts isn’t just about instructions to be carried out though. It also allows macros to be included, that agents can run as they go through the script.

Here’s an example of something that I’ve been playing around with in my test environments (ninja’s are just SO cool, that I’ve had to rein in my imagination!):

So that’s an example of what you can do. Let’s now see how we set these up. There are several steps to it

In the Omnichannel Administration Hub, you should see the Scripts entry in the left hand bar:

Open it, and click on ‘New’ in the main menu bar. You’ll get the following form appearing:

Type in a name for the script, and a description (personally I find it annoying that I can’t see all of the text in the Description field – perhaps Microsoft may change this at some point). Save the form, and the grid to the right becomes active!

Clicking the ellipse (3 dots) in the Agent Script Steps grid gives several options:

One of the very helpful options here is to add an existing script step. What’s a script step, I hear you ask. Well, each specific item in a script is referred to as a ‘script step’. You set these up as you go through your scrip, as shown below. You don’t need to create a new script step for each script if they’re the same thing – you can just create one, & add it as needed to multiple scripts (just be careful, because if you need to change it at some point, the changed/updated version will display in all scripts that it’s associated with!.

As with any record, you’ll put in a name, and a description. What you’ll also do is give it an order number (this is manual, not auto-generated). The order number is how the system orders the different steps. There’s also the option (which is a required selection) as to whether this is text, macro, or a script:

  • Text. This will be free text that you enter into the script step, which will then be displayed on the screen for the omnichannel agent to see
  • Macro. This will give you the option to point to a macro that you’ve already set up. When the agent will click on it during the session, the macro will run
  • Script. This allows you to reference existing scripts – you can have smaller scripts that you can then use as ‘building blocks’ to create more complex scripts

Once you’ve gotten the script set up, we then need to configure the chat sessions to actually use it. This allows us to set up multiple scripts in our system, and use them as appropriate (eg by using pre-survey questions, it’s possible to direct a customer to a specific queue, and then have the agents use a specific script for this).

To do this, we go to Sessions, and open the session entry that we’re wanting to set the script up for:

Once it’s open, switch to the Agent Script tab. This has a grid that shows all of the script/s that are set up for it. To add script/s, use the drop-down menu on the top of the grid:

The last thing that needs to be done is to enable the Productivity Pane, as otherwise agents won’t be able to see all of this in the first place! Thankfully this is a single setting, and is done as follows:

  • Go to the Productivity Pane option in the left-hand menu. Click on it
  • Set the Productivity pane option to ‘Enabled’
  • Set the Mode option based on your requirements (this is how it appears in the agent interface). By default it’s set to ‘Collapsed’
Enable the productivity pane

And VOILA! It’s now all set up and ready to go:

Bus Apps At Speed Day

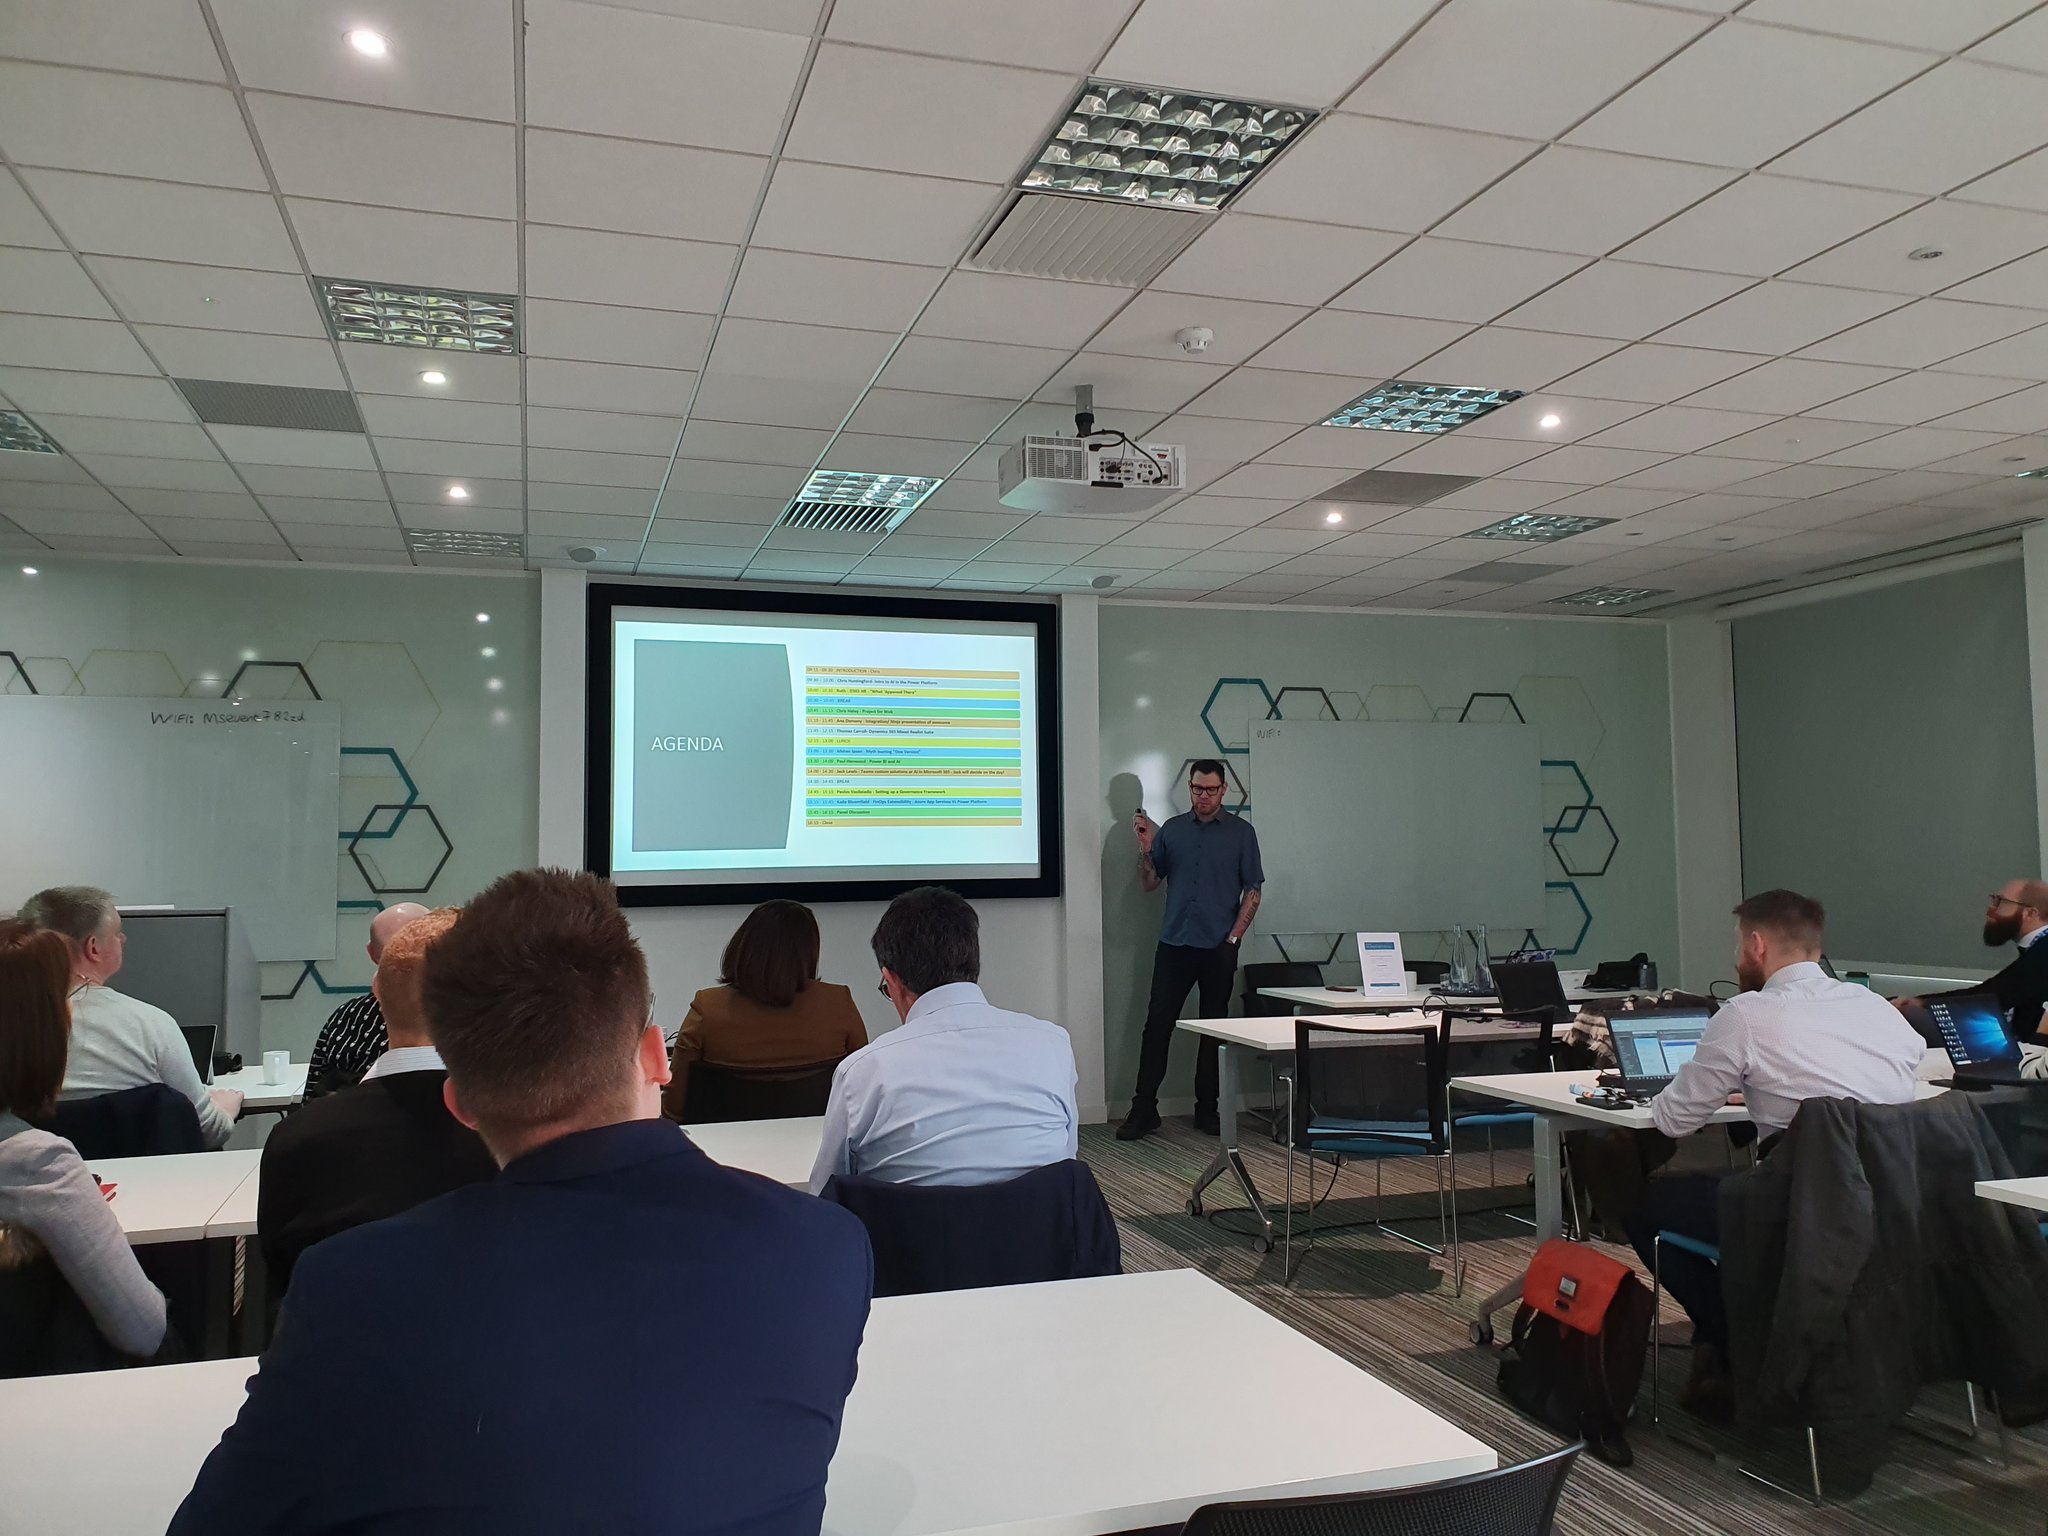
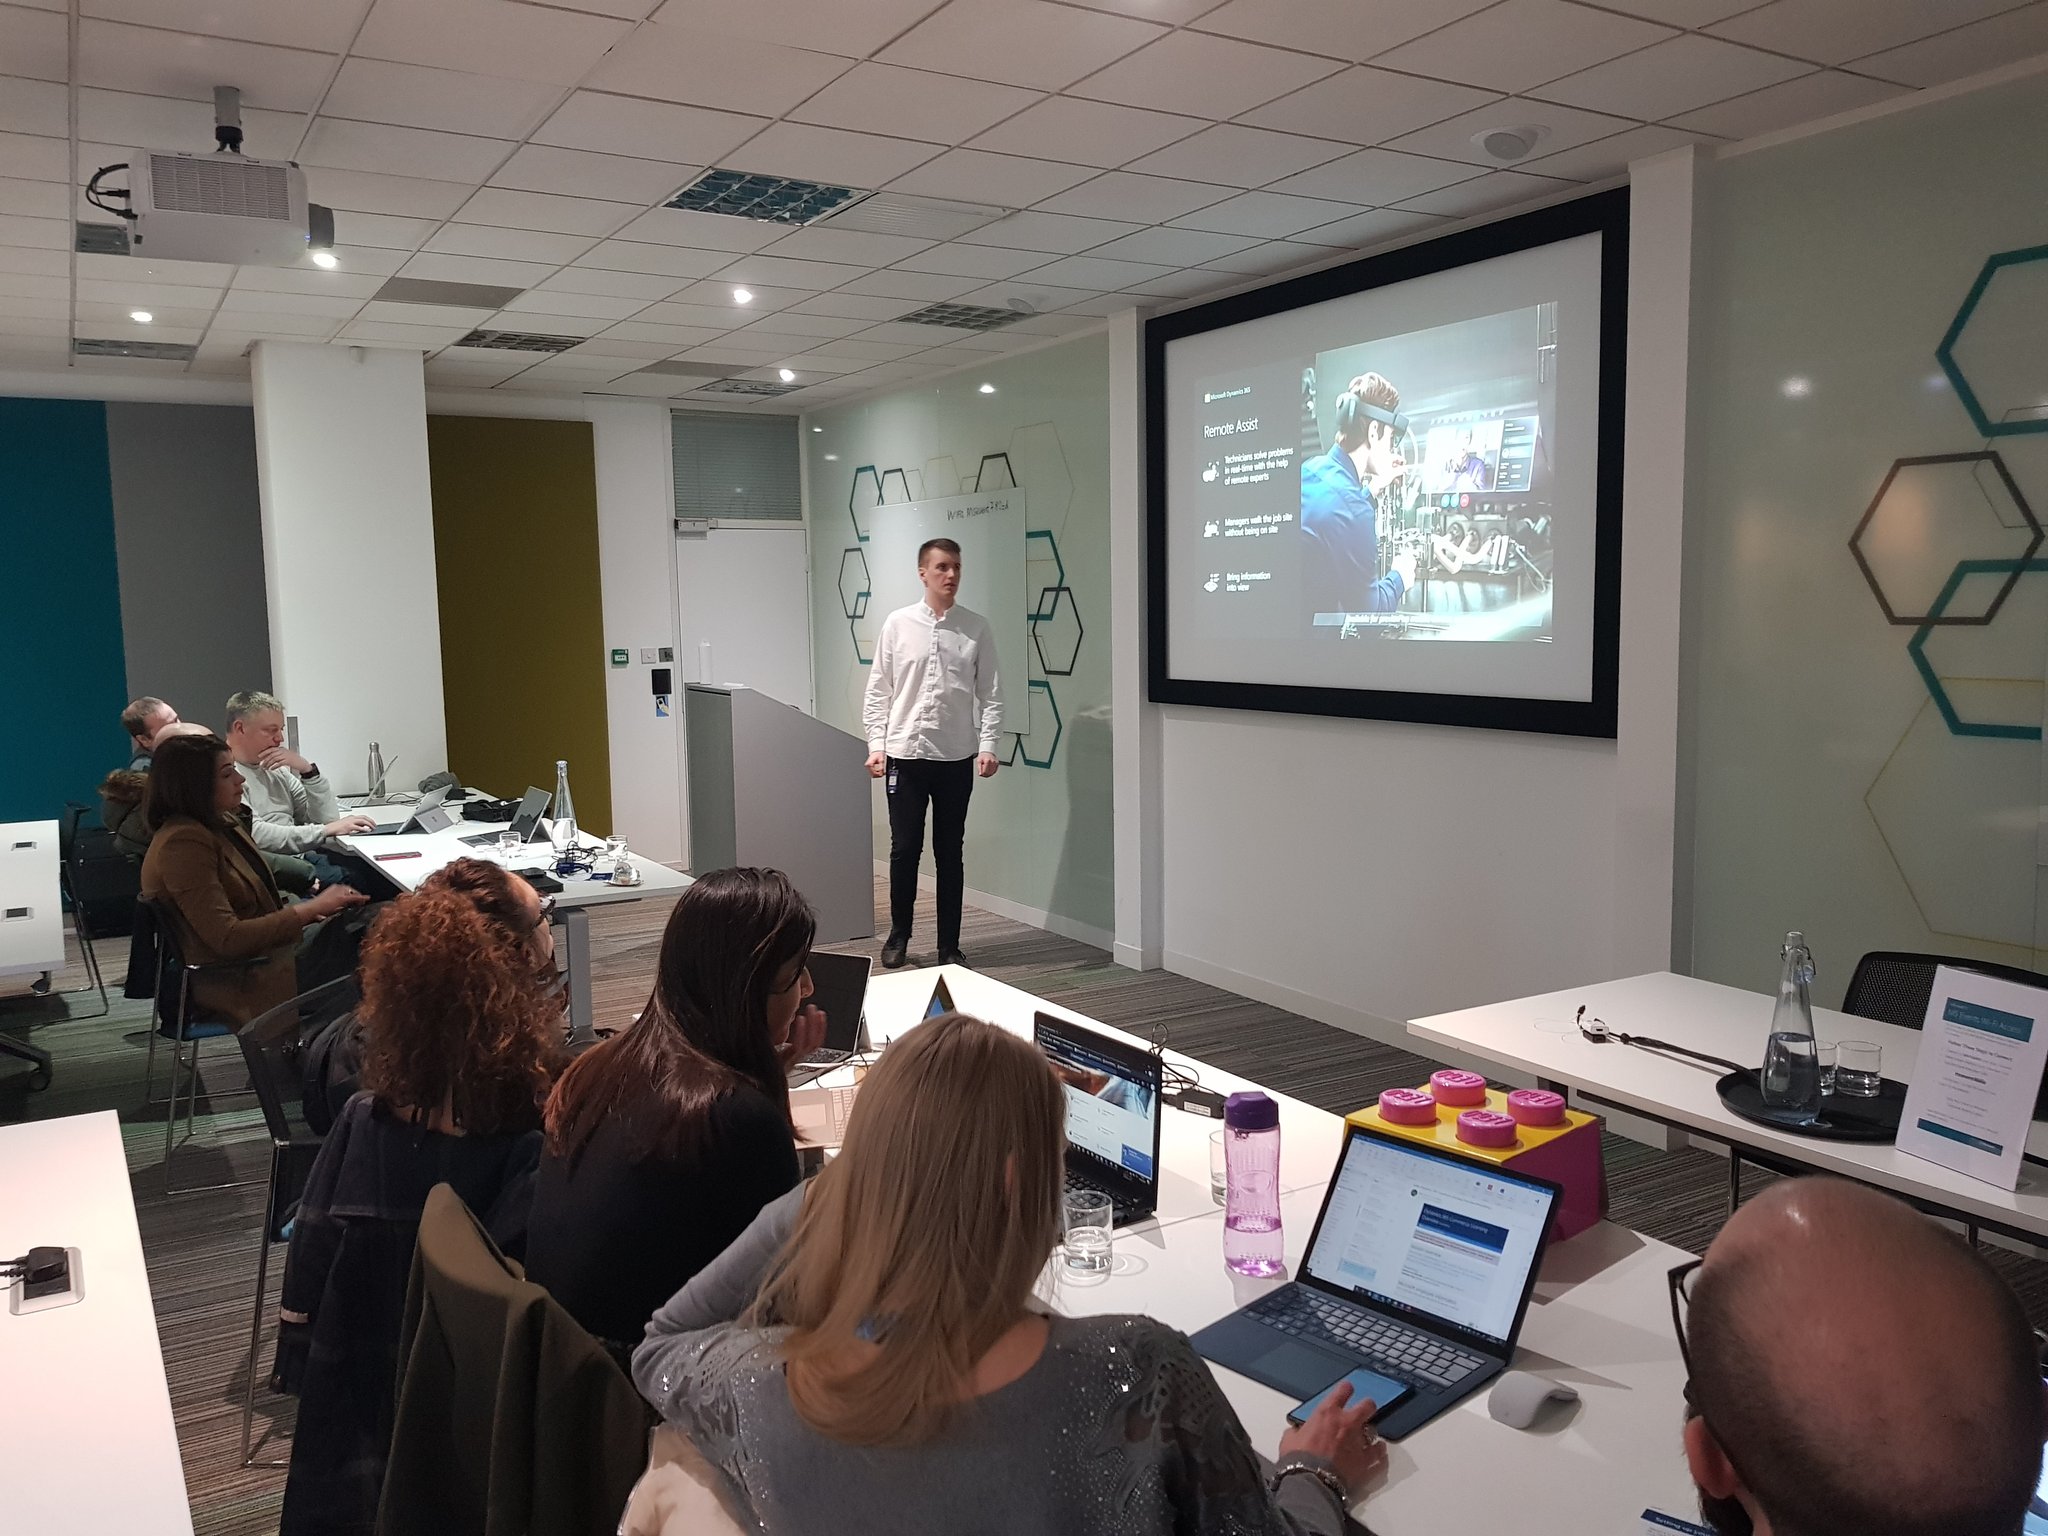
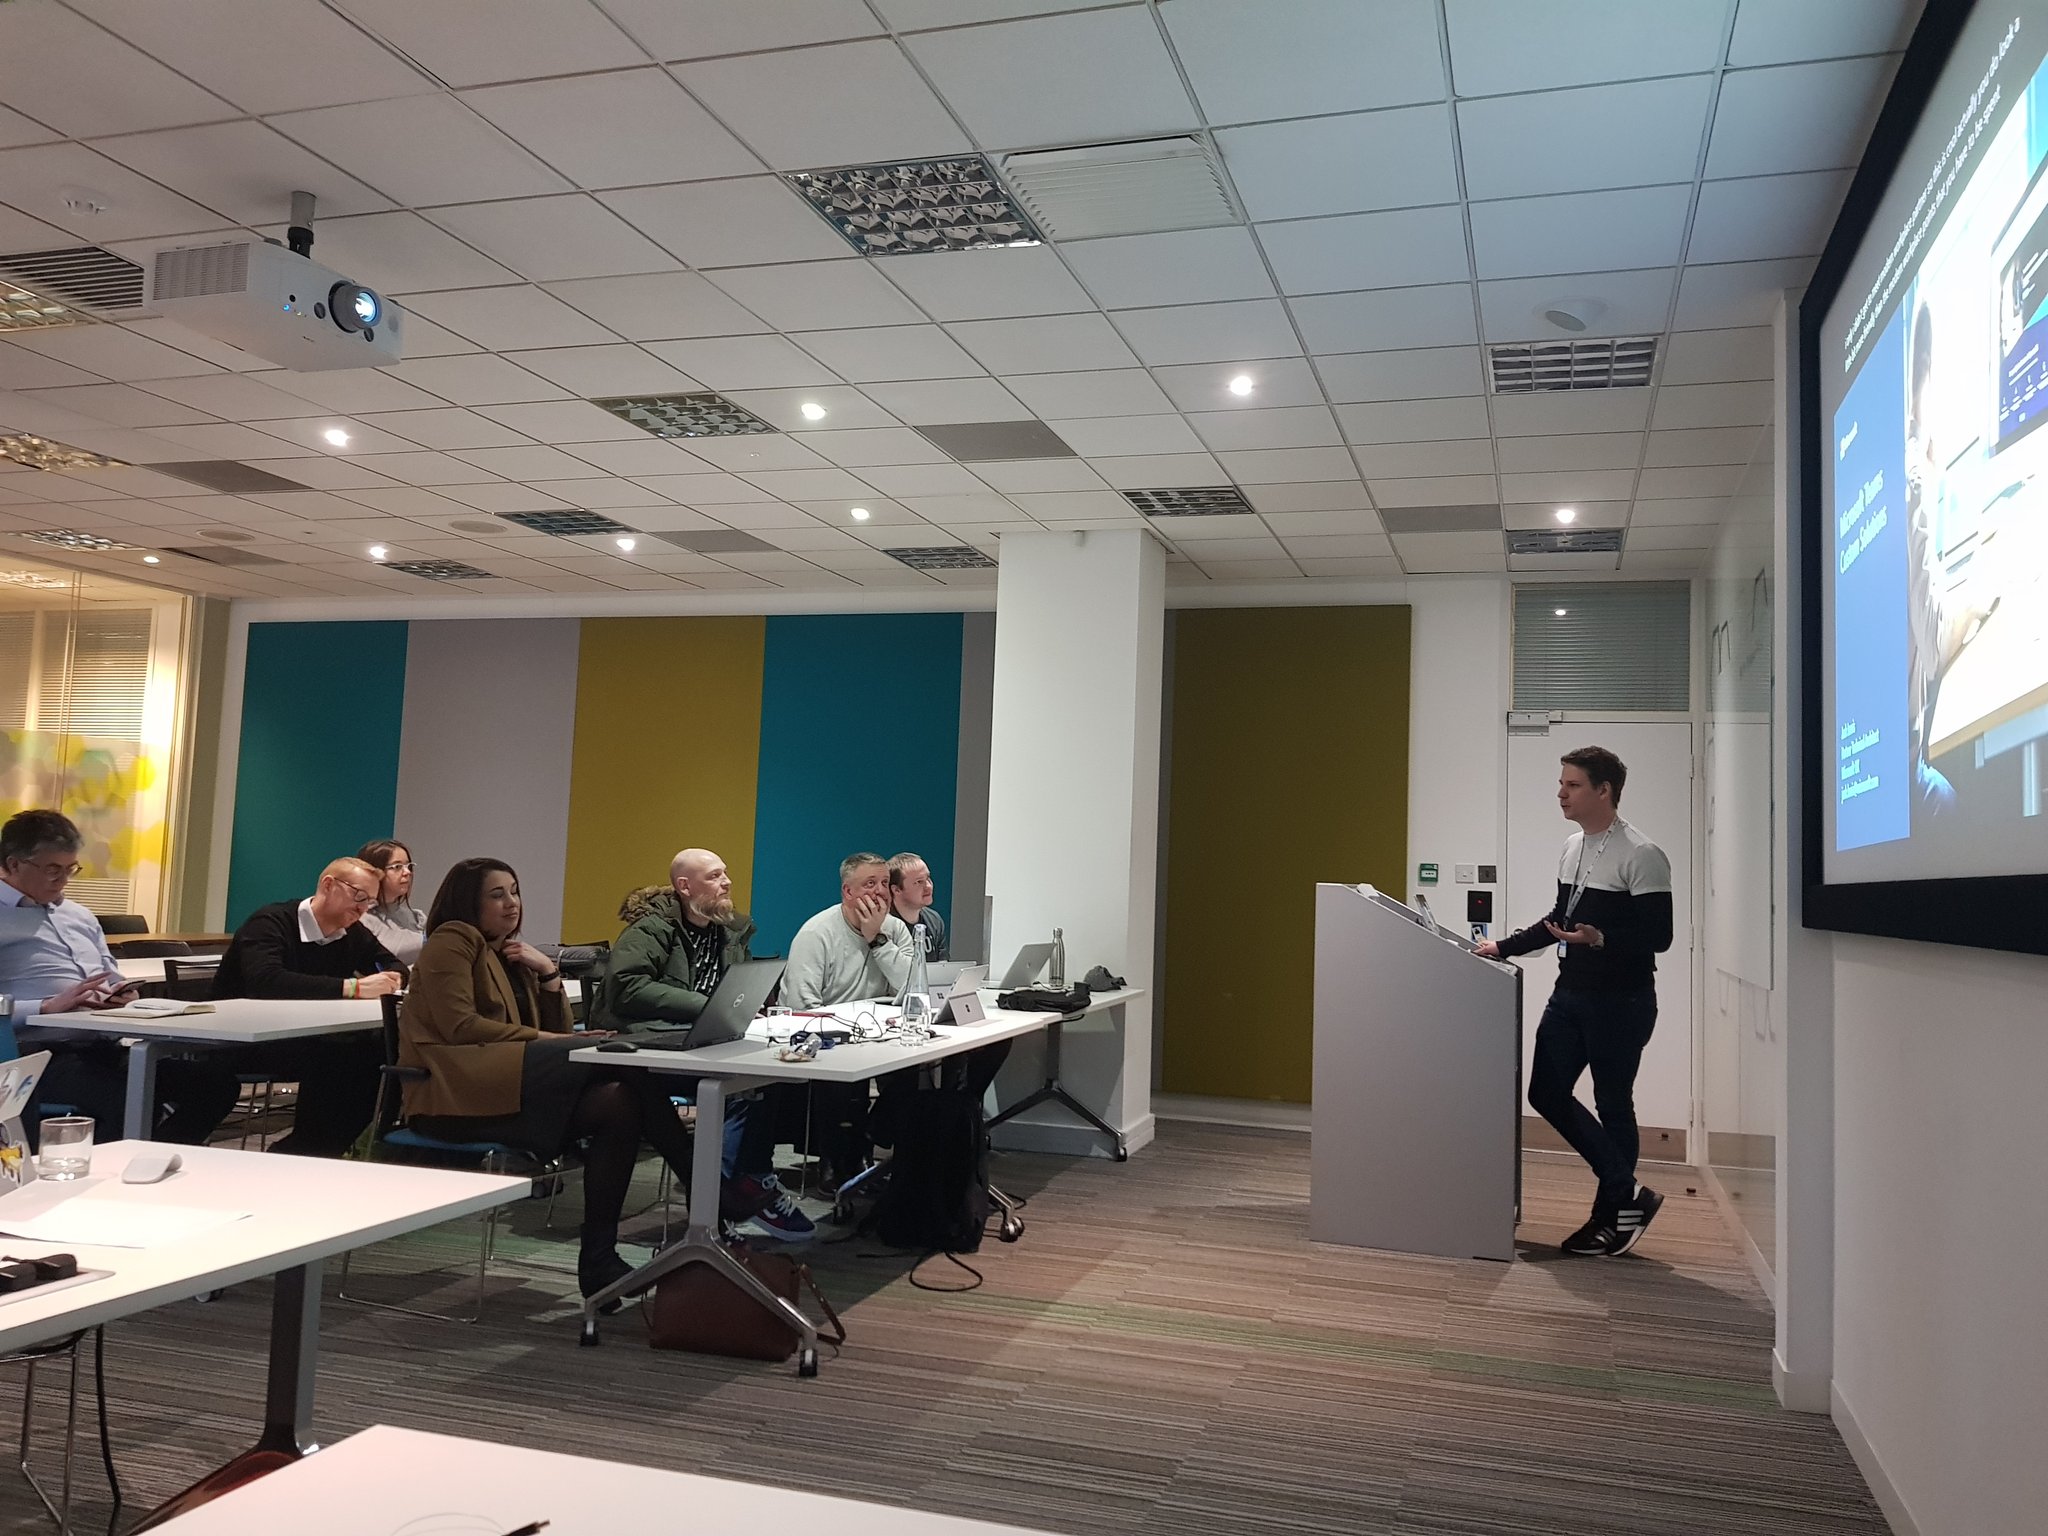
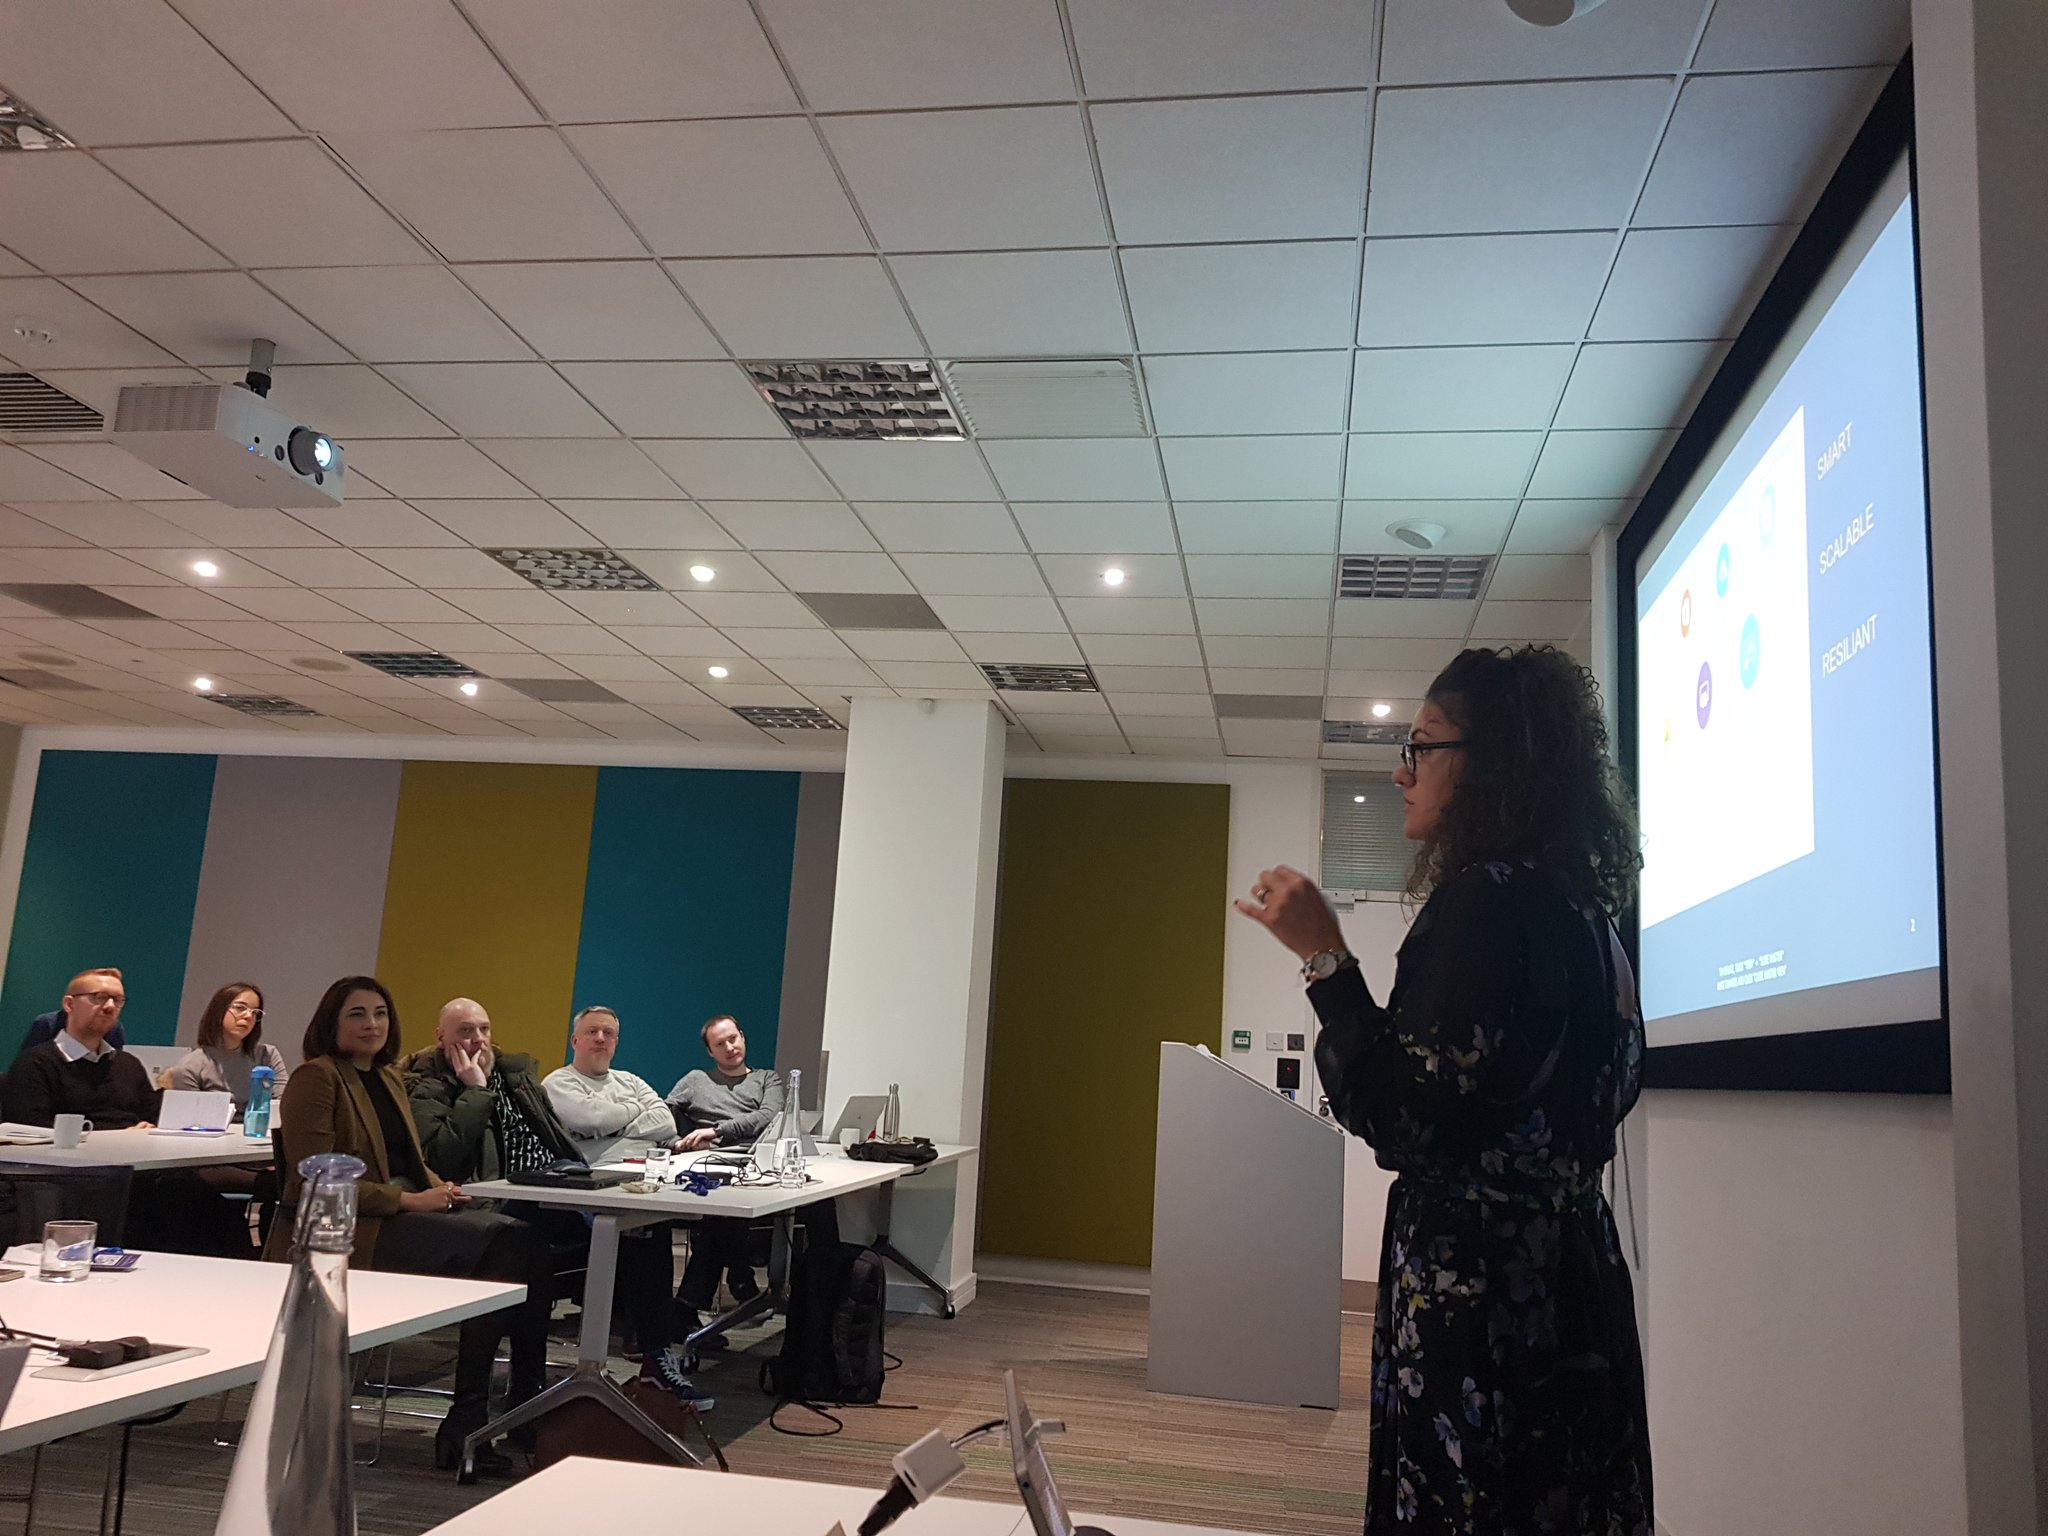
Today I attended a ‘BusApps@Speed’ day (BusApps refers to Business Applications) at the Microsoft campus in Reading. The aim of the day was to give a whistlestop tour through many different applications, including some that I’m not that familiar with (in terms of the functionality and integration). Organised by Chris Huntingford (who also took most of the pictures that I’ve used below), it was really great to learn & broaden my knowledge and understanding of the different applications/functionality that can be used

A quick summary is below:

Image

Chris kicked off the day in his usual style, talking about how the landscape has changed and evolved. Quickly covering abilities that are now present in Power Apps, Power Automate and Power BI with quite some finesse, we were immediately entranced and ready for the rest of the day.

Image

Ruth Forster-Towne from FourVision gave a presentation about Human Resource, which is what Talent has been rebranded to (along with some changes). There were some gaps in the functionality, so FourVision brought several HR ISV solutions to the table to fill these gaps, which is really great to see. The ability to have a standard integration for payroll gives the option for companies to use a local payroll provider in order to be compliant with the necessary legislation (as this can change extensively from country to country!)

Chris Haley spoke about Project for Web, Project Online and PSA. Covering some of the architecture and how best to use each one, it was quite informative as I’ve never used any of them. It was also interesting to hear that DevOps could be included alongside as a project tool, and I’m going to be doing some research into how this would work best.

Image

Afshan Ipsen blew us away with talking about ‘One Version’ for FinOps – we couldn’t believe it’s the first time she’s carried out a speaking engagement at one of these events. Talking through the continual development of the platform, and how to efficiently handle testing the new releases (minor as well as major) on a regular on-going basis. Some really amazing thoughts which can apply to all technology projects really.

Image

Thomas Carroll absolutely wowed us with his presentation on the different Reality series that Microsoft has. Augmented, Virtual and Mixed all bring amazing solutions for being able to help us get better, as well as troubleshoot situations.

Dynamics 365 Guides in particular together with HoloLens can bring the amount of time needed to skill up in a particular area down by a massive amount

Image

Jack Lewis came to talk to us about Microsoft Teams, and the amazingly cool stuff that it’s now able to do. Benefits to people using it obviously include auto-creating Sharepoint sites in the background, but what was amazing to hear was that it’s possible to surface some Power Platform capabilities within Teams itself! Imagine having a Power App right there in the Teams channel.

Paul Henwood gave an amazing session on Power BI and AI capabilities. Demonstrating some of the functionality that Power BI can bring to the table (along with some of the noticeable limits when it comes to data sizes and processing), it was great to learn how AI can really feature. I’ve only played around with Power BI a little bit, and it’s definitely on the list of things that I’d like to take a further look into!

Image

Ana Demeny talked to us about integration architecture, and pointed out very clearly that the ‘right solution’ will always depend on the exact circumstances of the project. It was very clear that it’s vitally important to clearly understand all of the different components that could be used from the entire platform, and apply them in the right way for handling the business scenario, as well as licensing/cost considerations.

Pavlos Vasileiadis talked to us about the importance of having a Centre of Excellence for Power Platform objects (ie Power Apps). Unfortunately I was too engrossed in his session to take any pictures, as it was so excellent! Covering what’s needed to enable a CoE to run and function, as well as how it should be structured for success.

Image

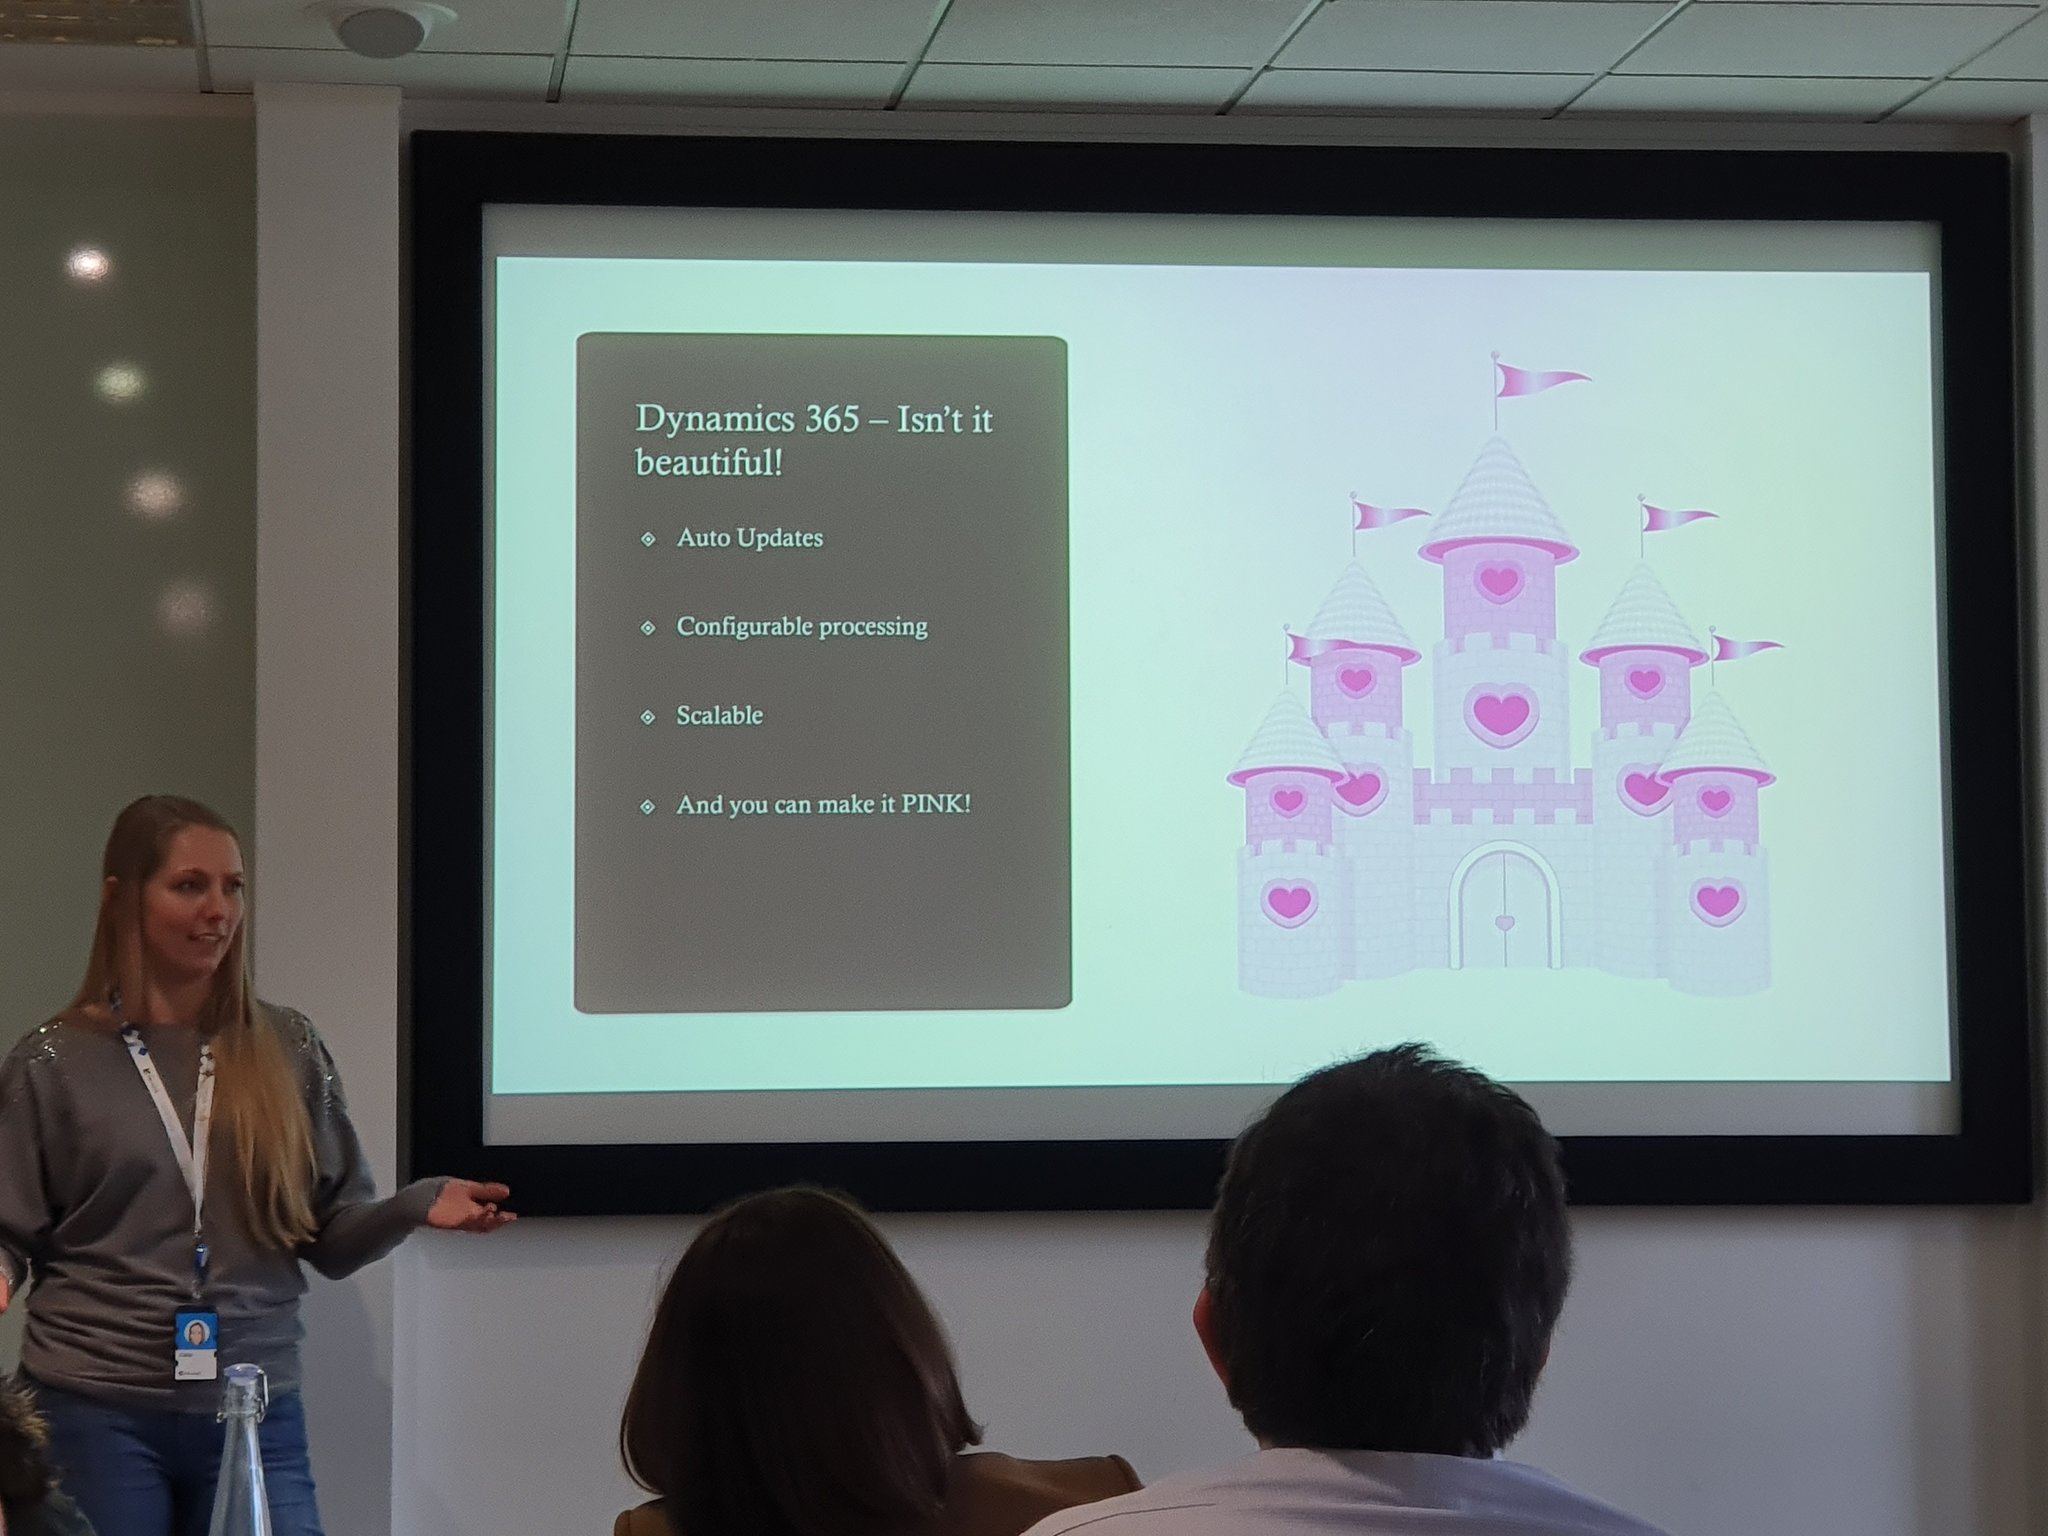
Kaila Bloomfield led the final session, showing how wonderful everything would be if it were all pink! This talked about the capabilities of the different options of Power Platform versus Azure functionality, and that it’s not always a case of just being able to use Power Platform components without running into issues.

Power Platform Admin Centre

Ever wished that you had a single place to manage/create environments, see statistics for all of your systems, view data integrations, etc?

Traditionally, it’s sometimes been quite hard to see all of this – admins have had to go to multiple places to find this information, and then bring it all together manually. A tedious task at times! This was especially true if an organisation had multiple environments – truly a major headache.

Image result for system admin frustration

But now…..there is an answer!

With the new Power Platform Admin Centre (note – it’s currently in Preview), this is all a thing of the past. It’s now extremely easy to see a massive amount of information in just one place. This covers environments, analytics (not only Dynamics environments, but now also the CDS, Flow and PowerApps for a tenant), Data Integrations, Data Gateways, etc.

The URL to use is https://admin.powerplatform.microsoft.com . When logging in, you’ll see the various options in the left hand menu bar.

Some screenshots (some obfuscation for privacy reasons):

Environments

Analytics

CDS Information

So go log in, and see what wonders you can find. Happy discovery…and enjoy the freed up time that you should now be having!

Microsoft Stack Part 10: Dynamics 365

Microsoft: Dynamics 365

Image result for logo microsoft dynamics 365

Dynamics 365 is Microsoft’s business application suite, combining in a single system its Enterprise Resource Planning (ERP) and Customer Relationship Management (CRM) capabilities. It includes four main applications: Customer Engagement, Finance and Operations, Talent and Retail.

Image result for logo microsoft dynamics 365 customer engagement

Microsoft allows organisations to pick and choose the specific applications they want to use to achieve their needs and objectives. This allows organisations to use only the applications that they need, rather than purchasing licenses to applications that may be left unused.

Dynamics 365 for Customer Engagement

Dynamics 365 for Customer Engagement is Microsoft’s CRM system. It contains a collection of separate applications that make up its CRM system, including: Sales, Marketing, Customer Service, Field Service and Project Service Automation.

Dynamics 365 for Sales

This application enables organisations, and the users within these organisations, to track sales across the entire sales lifecycle from beginning to end, build and maintain close customer relationships through effective management of customer accounts and gain valuable insights on the sales process. The application also includes tips, suggestions and insights which help to maintain customer relationships with ease.

Functionality includes:

  • Contacts/Accounts
  • Leads
  • Opportunities
  • Quotes
  • Orders
  • Invoices

Dynamics 365 for Marketing

Dynamics 365 for Marketing is an application which seeks to optimise the way in which organisations generate sales opportunities and turn them into business relationships. The application seeks to bring together sales and marketing strategy to create a unified approach for managing the whole sales lifecycle. Companies can use the Marketing application to create a personalised marketing strategy which uses data on previous activity to target specific individuals and deliver personalised advertisement messages.

Functionality includes:

  • Event Management
  • Portals
  • LinkedIn Integration
  • Lead Management
  • Surveys
  • Email Marketing
  • Behaviour tracking
  • Customer Journeys

Dynamics 365 for Customer Service

This application provides companies with the ability to provide personalised, high quality customer service on a range of platforms. The Customer Service Hub within the application provides a centralised GUI and includes many tools that companies can use to improve and optimise the service they provide to customers. These tools provide a complete view of customer cases and enable companies to provide personalised support for customers. Users can create and view customer cases, record and monitor progress, view previous customer interactions and see an overview of all open cases, which can be broken down into categories, such as product, priority and incident type.

Functionality includes:

  • Contacts/Accounts
  • Queues
  • Cases
  • Contracts
  • Knowledge Base Articles
  • SLA’s

Dynamics 365 for Field Service

The Field Service application focuses on businesses’ operations in the field and provides companies with tools they need to successfully operate and deliver high quality service to customers when on-site. The application optimises the efficiency of resources through improved scheduling, increasing the effectiveness of staff on-site and utilises Internet of Things to identify and diagnose customer issues early on.

Functionality includes:

  • Resources
  • Bookings
  • Work Orders
  • Inventory
  • Agreements & Billing
  • Universal Resource Scheduling

Dynamics 365 for Project Service Automation

Project Service Automation is an application targeted towards companies that provide project-based services and includes tools to increase productivity, efficiency and the quality of the work being delivered. The application includes tools to assist these organisation through the whole project lifecycle and allows users to plan projects, track progress, forecast price and profitability, monitor the scope, review and assess costs and time, optimise resource scheduling, amongst other things

Dynamics 365 for Finance and Operations

Dynamics 365 for Finance and Operations is Microsoft’s integrated ERP system. It includes a variety of features such as supply chain management, intelligent analytics, financial management, operations support and human resources management. One of the central features of Finance and Operations is its financial management capabilities. This platform allows organisations to use features such as general ledger, accounts payable, accounts receivable, banking, budgeting and forecasting, fixed asset management and tax management.

Finance and Operations also includes a number of capabilities which aid organisations to manage and optimise their supply chain operations. Some of these capabilities include sourcing and procurement, inventory and warehouse management, materials requirements planning (MRP), and manufacturing management. These capabilities enable organisations to optimise and automate their supply chain at every point throughout the process.

Dynamics 365 for Talent

Dynamics 365 for talent, Microsoft’s human capital management application, provides organisations with the tools they need to optimise the way in which they manage and engage with their workforce. Talent is made up of three central parts:

  • Attract
  • Onboard
  • Core HR

Attract focuses on the all parts of the recruitment process, from finding suitable candidates to submitting offers to successful applicants. Once successful applicants become new employees, the Onboard part of Talent helps to assimilate new joiners into the organisation. Finally, Core HR is designed to enrich the experience of employees and managers in organisations by creating a self-service portal. Within this portal employees can request time off, set and track performance goals, receive feedback and monitor skills and capabilities.

LinkedIn is the world’s largest talent database and often the primary system that recruiters use to find, communicate with, and source candidates for the jobs that recruiters are looking to fill. LinkedIn Recruiter integration with Dynamics 365 for Talent (Attract) makes it easier for users to hire, and to keep the data in sync between the two systems

Dynamics 365 for Retail

Dynamics 365 for Retail works to bring together both front and back office function to assists businesses in optimising inventory, merchandising, store operations and hardware to create a unified multi-channel sales approach that delivers a high-quality shopping experience.

Retail shares functionality with both Finance and Operations, and Talent.

Dynamics 365 for Business Central

Microsoft Dynamics 365 Business Central is a cloud-based, all-in-one business management solution which enables customers to upgrade from their entry-level accounting software or legacy ERP system to one single, comprehensive solution to manage finances, operations, sales and customer service. Helping organisations streamline their processes, improve customer relations and enable growth through:

  • Business without silos—connecting businesses and boosting efficiency with automated tasks and workflows, all within the familiar Microsoft interface of applications such as Word, Outlook and Excel.
  • Actionable insights—achieving more and gaining a complete view of the business with connected data, business analytics and guidance delivered by Microsoft’s leading intelligent technologies.
  • Solutions built to evolve—get started quickly, growing and adapting in real time with a flexible platform that makes it easy to extend beyond Business Central based on evolving business needs.

Microsoft Dynamics 365 Business Central Essentials includes the following functionality:

  • Financial Management—general ledger, workflows and audit trails, bank management, budgets, deferrals, bank reconciliation, dimensions, fixed assets and currencies.
  • Customer Relational Management—contacts, campaigns, opportunity management and built-in integration with Dynamics 365 for Sales.
  • Supply Chain Management—sales order management, basic receivables, purchase order management, locations, item transfers, and basic warehousing.
  • Human Resources—employees and expense management.
  • Project Management—resources, estimates, jobs and time sheets.
  • Other—multiple languages, reason codes, extended text, Intrastat reporting, scheduled tasks and Outlook integration

Microsoft Dynamics 365 Business Central Premium will include the above functionality, plus:

  • Service Order Management—service orders, service price management, service item management, service contract management, planning and dispatching.
  • Manufacturing—production orders, version management, agile manufacturing, basic supply planning, demand forecasting, capacity planning, machine centres and finite loading

Microsoft Stack Part 9: CDS & CDM

Microsoft’s Common Data Service

Microsoft’s Common Data Service (CDS) is an Azure-based application which stores and manages the data that is used to create applications on PowerApps and explore insights on Power BI.

CDS is the collective name for two different services offered by Microsoft, CDS for Apps and CDS for analytics.

The former is built into PowerApps and it brings together and stores the data from Dynamics 365 applications and databases to enable users to create business applications.

The latter, on the other hand, is similar to a data warehouse or data lake. It pulls, aggregates, cleans, integrates and stores data from multiple sources which can then be used by organisations for analysis to produce visualisations, dashboards and reports.

Using CDS has a number of benefits, including:

  • Effortless data management: the data is stored in the cloud, so users can benefit from the lower costs associated with cloud storage, scalability. data redundancy and high availability.
  • Security: role-based access allows organisations to easily control who has access to the data
  • Dynamics 365 integration: users can easily utilise data on Dynamics 365 to create business applications
  • Data quality: business rules, workflows and process flows are used to ensure the quality of the data that is stored.

Common Data Model (CDM)

When using multiple sources to create business applications or explore business data, each source may have a specific way in which it categories, formats and structures the data. In order to aid the development of business applications and data analysis, CDS uses the Common Data Model to create standardisation and consistency across the data. The CDM is shared data language that allows different business applications and databases to communicate in the same language, so to speak.

The CDM contains a set of standardised schemas and semantic metadata that creates a standardised structure and format for data coming from different sources. It does this through the set of entities that standard across businesses, as well as the relationships between these entities. Entities are a set of individual data records.

Think of entities as tables within a database and records as specific rows within those tables. It is common for entities to share the same data and thus have a relationship.

For example, the entity “Discount” will likely share data with “Quote”, since businesses will quote a discounted price to attract customers. If a business requires an uncommon, specific entity they have the option of creating their own. Some of the standard entities included in the CDM are listed below.